
If you have visited my gardening blog, Welcome to Ann's Garden Spot, you will have read my laments about our crummy May weather. Today we were able to do some badly needed weed spraying and weed pulling. Oh there is plenty more to do, but we did make a bit of progress. While we really must be thankful for all of the moisture, we would love some sunshine.
So while I am not gardening, I am downstairs working on the dollhouse house. Today I stained some of the wood trim that will finish up the living room, bedroom and downstairs hallway.
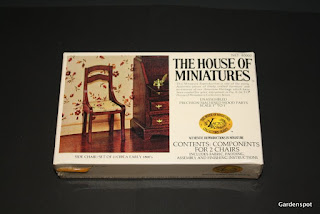
But first let me show the chairs that I made this week, too. Last week I compared the 3 furniture kits that I have been working with. I thought that it would be nice to make up the XACTO chairs to let you see the difference in the quality of the kits. Below you will see the finished chairs. They went together very easily and quickly with fewer parts, no sanding, and very good instructions.

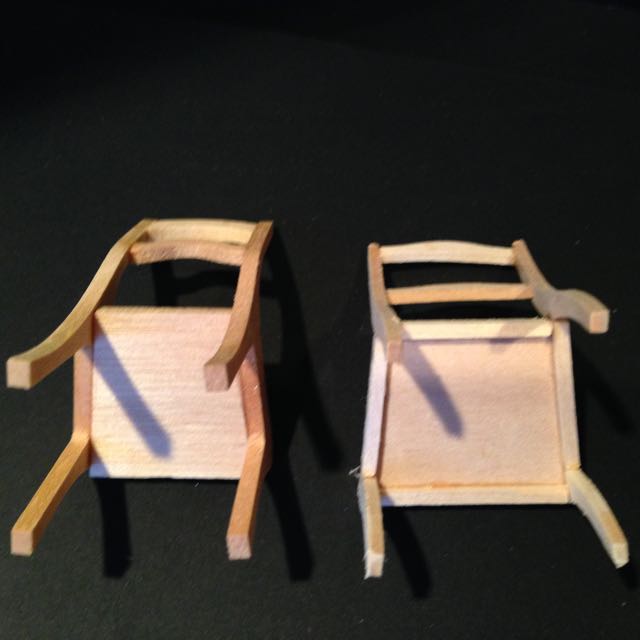
You can see the light pencil marks on the chair arms where the support pieces for the back are placed. The instructions gave a template that I could place the pieces on to accurately place my marks.

The kit contains two chairs: the front and back views.

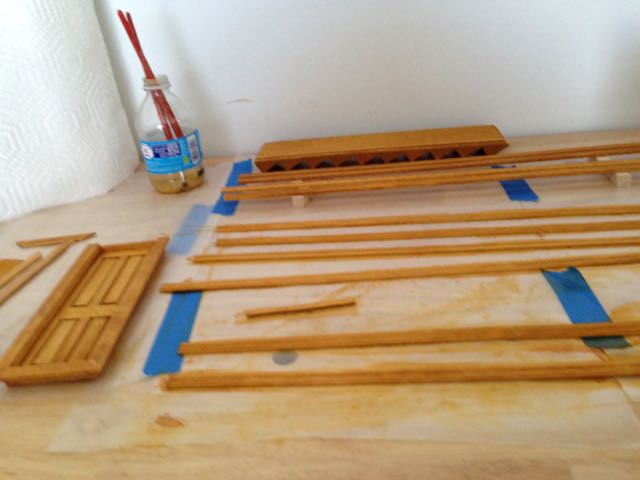
The blue farm house requires a lot of work. Here I have stained the trim for around the windows and the baseboards before I cut them to fit. I also had a new door to stain and I stained the stairs for the main floor hall. I use a small artist brush to apply the stain instead of a cloth, as some may use. I can get nice coverage and don't waste as much stain.

So while I am not gardening, I am downstairs working on the dollhouse house. Today I stained some of the wood trim that will finish up the living room, bedroom and downstairs hallway.

But first let me show the chairs that I made this week, too. Last week I compared the 3 furniture kits that I have been working with. I thought that it would be nice to make up the XACTO chairs to let you see the difference in the quality of the kits. Below you will see the finished chairs. They went together very easily and quickly with fewer parts, no sanding, and very good instructions.

You can see the light pencil marks on the chair arms where the support pieces for the back are placed. The instructions gave a template that I could place the pieces on to accurately place my marks.

The kit contains two chairs: the front and back views.

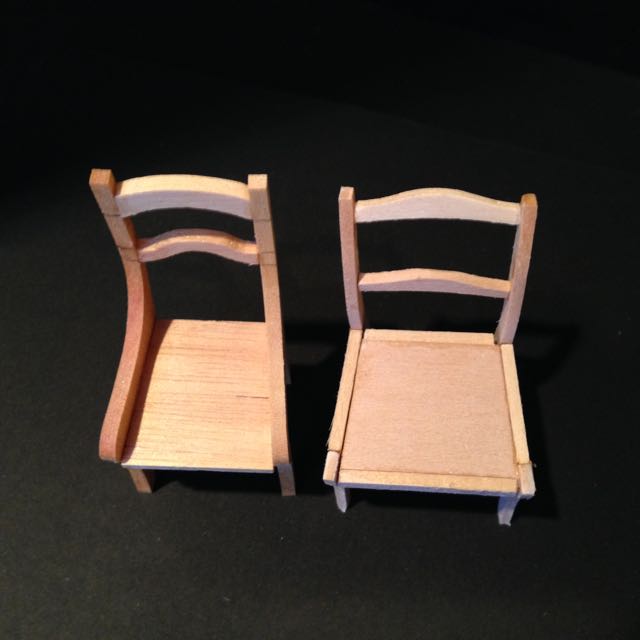
Now here is a comparison of the two different kits, with the XACTO on the left.

With fewer pre-cut pieces that did not require sanding, the XACTO chairs went together quickly and accurately.

With fewer seams, the XACTO chair has a cleaner look and requires less clean up work when it comes time to paint or stain. The chair on the right might be suitable for a shabby chic look. I haven't decided how I will finish those chairs or which house they they go in. Not bad chairs, they were just really frustrating to assemble and they were a lot of work.

The blue farm house requires a lot of work. Here I have stained the trim for around the windows and the baseboards before I cut them to fit. I also had a new door to stain and I stained the stairs for the main floor hall. I use a small artist brush to apply the stain instead of a cloth, as some may use. I can get nice coverage and don't waste as much stain.

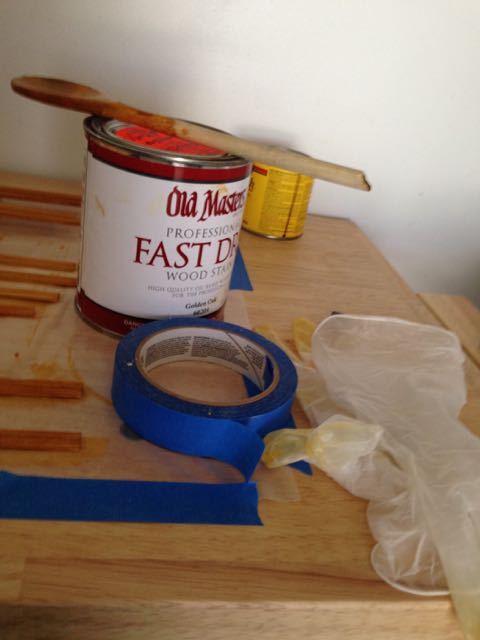
Other supplies:
- Wood Stain: I had to have stain custom colored to match the current woodwork in the house that will not be replaced such as doors. The stain is a close match, but not exact. I will do three coats then use polyurethane for at least two coats. I may also look for a finish that will give that professional, shiny look to the finish.
- Gloves: I purchased these plastic gloves at the super market in the food selections. They come 100 to a box. You'd be surprised how often you will use them for things other than food prep (I use one to mix meat loaf--can't stand the feeling of the cold, raw ground beef) and for painting to save my manicure. (LOL).
- Painter's Tape: I use a lot of blue tape.
- Wax Paper: I use a lot of wax paper, too, to protect the surface that I am working on. I am doing the staining the garage instead of downstairs. Hubby has aquariums and we fear the fumes will make the fish sick, so I am now working in the garage, too. He bought and assembled a very nice wood work bench for me. I'll show it some time.
- Artist brushes: I buy cheap artist brushes that come in packages of various sizes from Hobby Lobby. If one gets too icky or worn, I just throw it away.
- Turpentine: I keep my staining brushes in a small water bottle of turpentine to keep them clean.
The weather is supposed to warm up and dry out next week. We have lots to do outside, like plant the garden. I have been taking a lot of photos as I work, so if work stops, I still have things to share and I can keep the blog going.
I about have the bedroom and living room nearly done, ready to work on the bathroom. Here is the wallpaper that I picked up at Hobby Lobby. I am trying to match the color of pattern. I think it is periwinkle.

Or a blue-ish gray. I am thinking of putting wainscoting in the bathroom that will be painted. I have looked for periwinkle paint, but haven't found a match in craft paint, so I mixed my own: equal amounts of light blue and lavender, then I added white. I painted a tongue depressor. We will see what sort of match I have when it dries.
So that's about all for tonight. Did you notice the new header? I also added a PIN option to my photos. Let me know how you like it. If you want to add a Pinterest option to your photos on your blog, here is the link: Click here: Add A Pin It mouse-over button.
Have a fabulous week end. And thanks so much for stopping by.


Hi Ann! I must say you're a lot more careful and precise than I am with your projects. I do everything by eye. But then again I have a move shabby vintage thing going. I love how you take the time to make everything so neat. The blog looks great!
ReplyDeletehugs♥,
Caroline