Now, both the exterior and interior walls of the first and second floor have been primed. Next I will paint the exterior; I am still pondering the color, but thinking about a very light mint or sage green with white trim and perhaps a bit of pink as an accent color. I really love one of the Robin Cary dollhouses that is taupe with blue and white accents, but the grand daughters have chosen those colors for their Painted Lady. It will be beautiful.
I like to prime the surfaces for a couple of reasons, but especially as both as a sealer and to provide a smooth surface for paint or wallpaper. I had to remember not paint the edges that will be glued because the paint does not absorb the glue causing a weak union.


I like to prime the surfaces for a couple of reasons, but especially as both as a sealer and to provide a smooth surface for paint or wallpaper. I had to remember not paint the edges that will be glued because the paint does not absorb the glue causing a weak union.
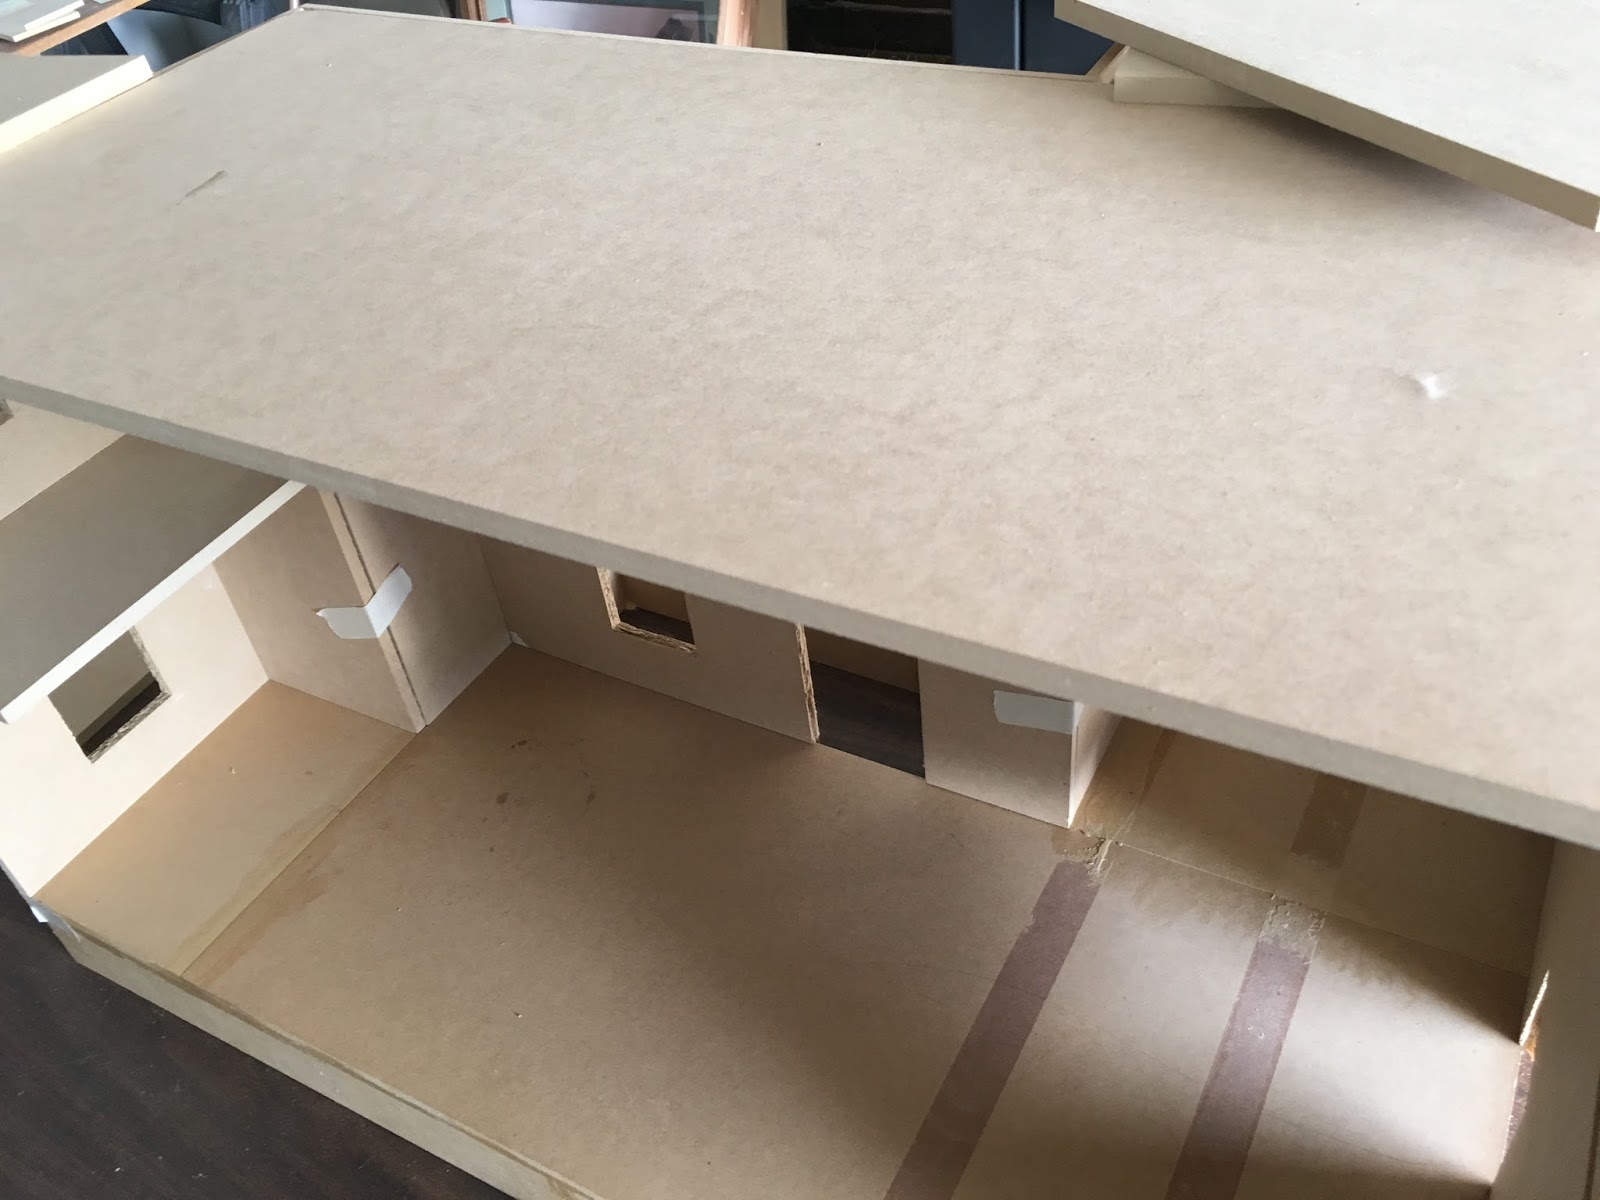
Next, I taped together the first two floors to dry fit pieces. The first step in assembling any of these kit houses is to assemble the foundation. The first owner had already nicely assembled the foundation, so it s ready for the house to fit on it. The company instructions are very specific on how to assemble and glue the house together, and this is not the way.
The Bellingham is a sizable house, but so far has assembled easily. I haven't gotten to the 3rd level yet or the roof. I may be singing a different tune when it comes times to doing that.
These kits come complete with all the pieces to build a beautiful home, except for the pieces that are missing. With Dura Craft out of business, missing or defective pieces cannot be replaced. Such is the case with the pieces used to finish the 7 seven windows, the small gusset that will be on the top of the window. So I have ordered from miniatures.com seven windows rather than building the kit windows. This one is one that I picked up at Hobby Lobby for the Ballet Studio, but did not use it. These standard windows will fit, but the substituted doors will not. I want to use a single French door on the balcony, but the doors are too long, so I may have to build the pieces and figure out how to create the top gusset.
I think this window should face the window sill shelf should be on the inside of the house, not on the outside. I may also change out the shutters, opting for these with the slats. I do need to use a larger size.
The second floor is very precarious, so look quickly before it all comes down. I have some decisions to make about flooring: craft sticks glued down to the floor or purchased flooring by the sheet. I have been buying i at Hobby Lobby and staining it, getting good results.
At this point, once the primer has dried I made my wallpaper templates. While I will wallpaper after the house is assembled, it is easy to make the patterns while the walls lay flat on the table. I used waxed freezer/butcher paper. I use it for many things: to cover my work surface to keep paint, stain, and glue off of the table top, as backing to cloth when I want to print images on cloth, and to make my wallpaper patterns. Cheap and you get a lot on a roll.
You can see that I ran my finger along the edges of the walls, windows, and doors so that I will know where to trim away excess. I didn't take the time to cut out the window or doors, but I did trim the sides the size of the walls. I will add 1/2 inch to each side (not top or bottom) on the front walls so that the wallpaper will wrap around the side walls. The wallpaper on the side walls will butt up to the corner, creating a nice finished corner.
I printed the photo of the interior of the first two floors that I am using as my blue print. I have drawn in the line where I will place my electrical tape wire. Next I will decided where I want my lights. I will mark the wall templates so that I can transfer the locations of lights to the wallpaper. I'll go over that when the time comes.
Building a kit house is so much easier than doing a renovation because of the ease of access, and in the case of the Blue Farmhouse, uniform and well-fitting pieces. The manufactured wood has a smooth surface while the 1/4 inch plywood used in the old house is rough. I have struggled with every aspect of the renovation; now I am enjoying the the process, trying to take my time, and have a plan with each step.
Thanks so much for visiting. I always enjoy your input along with any suggestions that you may offer. I'll return with a pretty color, I hope.