I thought that I should post something since I've missed a couple of weeks. Larimer County Fair winds down this week, but last week I spent nearly every day from Sunday through Friday at the fairgrounds. You can see all the classes that the granddaughters competed in at my other blog, Welcome to Ann's Garden Spot. The mosaic here gives the highlights: 1 horse, 4 goats, a hog, and several rabbits. Three granddaughters and one grandson, a city kid, who tagged along.
So the Manchester sits, collecting dust. I finally figured out the wall coverings for the kitchen, just haven't finished the kitchen yet and now I am contemplating rebuilding the cook top cabinet. I've made two and neither one of them suit me. It's a big piece with drawers and doors that open. The drawers are made, so I won't have to remake them. I just need to design it to accommodate the cooktop--Next week.
I also worked on the bathroom floor. I've had my heart set on the printable cement looking tile that I purchased from Jessica Cloe, but after spending a lot of time printing it, the jury is still out.
The upstairs wall has not been installed yet because I needed to work out the flooring in the bathroom. Since it is printable and I am limited by the size of paper that the printer uses, I had to figure out to create a seamless single sheet of flooring that would be 8.5 inches wide by 12 long. I bought a package of 8.5x14 inch (legal size) computer paper which gave me the width that I wanted and extra at the end. Perfect. Until I realized that I wanted to print on glossy photo paper that was only letter size.
The process to get the floor printed was tedious, but successful.

I began by printing the pattern on the 8.5x14 computer paper. I use Microsoft Word 16--which is basically the same regardless of the version that you are using either on PC or Mac--I used my iMac. Setting the correct printer parameters the first time saves time and paper--but it has to be reset with each reprint.
Paper size: To get the full page printout on the either size of computer paper, you select the paper type in paper size. The 8.5x11 is Letter while the the 8.5x14 is Legal.

Print Quality: I used glossy photo paper, so I chose that print setting and rather than Scale, I chose fit to scale to Print Entire Page. While the entire page is not filled, this is 14 inch long paper and my floor is 12 inches long, so I have flooring to spare.

I printed on the 14 inch long paper first as the test, then I carefully taped together two sheets of the standard letter size photo paper, cutting to the legal size and printed.
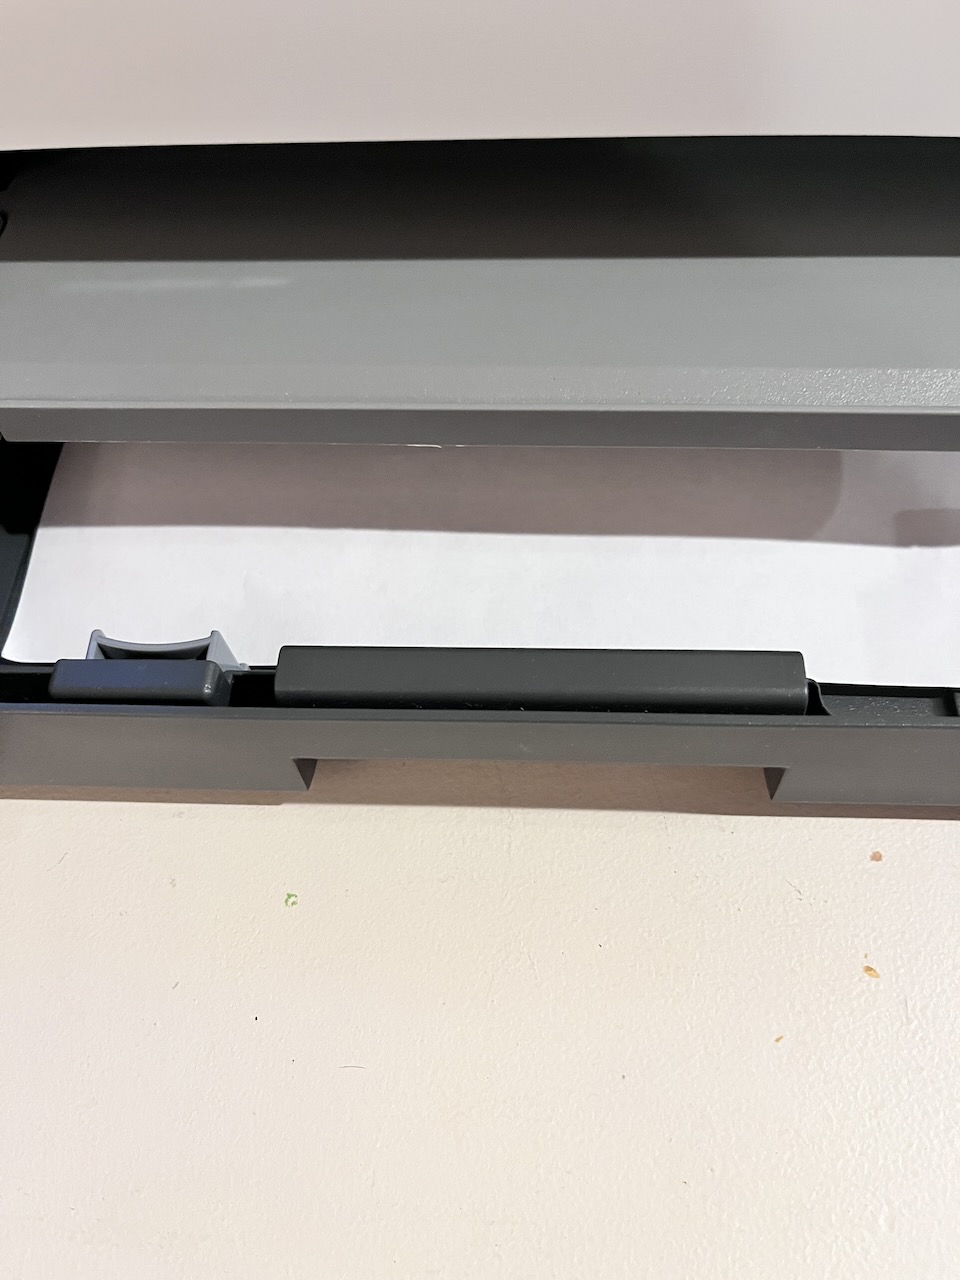
The printer tray also has to be adjusted to accommodate the longer paper. On my printer, then end extends.
I get a decent print on the legal paper that does require some trimming, but it fits.
The regular paper gives a nice test sheet.
I didn't pay close enough attention to my printer settings, which required a do-over to get the full legal sheet printed. Remember that I had to tape together to letter sized phots papers to get the legal size.
I am pleased with the results, but when I enlarge the size of the paper, the size of the image--the tiles--are larger. While they should be 1 inch the are 1.5 squares. I'm wondering if I'm okay with that to get the floor that I want. I could print on the letter size and splice the sheets, but that is exactly what I wanted to avoid because the ink is never consistent from sheet to sheet and seams can be hard to hide. So while I an acceptable printed cement tile floor, I'm still left wondering if I will use it.
The final project for the week before fair was to print the giant sunflower that will go in the second floor of the addition wall. I finally decided on plain colored paper for the wall which will not go through the printer, so I printed my flower on a clear sticker. I found the image on raw.pixel.com, imported it into Design Space and printed it on clear sticker paper (Hobby Lobby's store brand, Paper Studio), using the transparency setting to keep from cutting through the backing. (learned that trick from a YouTube tutorial on cutting out stickers.You don't want to cut through the backing, only the sticker and this setting seems to work the best)

Two fair events left this week: the Round Robin tonight. Lucy will participate in that. Since she won all of her horse show events, she qualified for this event in which they show every fair animal: sheep, goat, hog, dairy and beef cows, horse. Tomorrow is the sale. The 2 Boar goats will go the sale and Frank the Hog. I'm sure that there will be tears when Ellie has to part with her pig. She's grown quite fond of him and he likes her.
And so that ends this week's update. Hopefully I'll have something for you next week.
Have a great week and thanks for stopping by.