
Note:[To increase the font size or screen size: Mac: Command +. Windows: Start>System>Display]
From the beginning this simple farmhouse style 3 story house caused me problems because I decided to do what some call "kit bashing," which I really am not very good at. I wanted a larger house, so because this house resembled a Real Good Toys Vermont farmhouse, I bought one of the company's sweet additions to add two more rooms, assuming it would be a perfect fit. I decided, too, that the addition's roof should have a sky light. I fumbled my way through, struggling because the addition really didn't attach as seamlessly as it would have to one of Real Good Toys current kits.

Still I preserved and herd she is in the final stages of completion.
.jpeg)
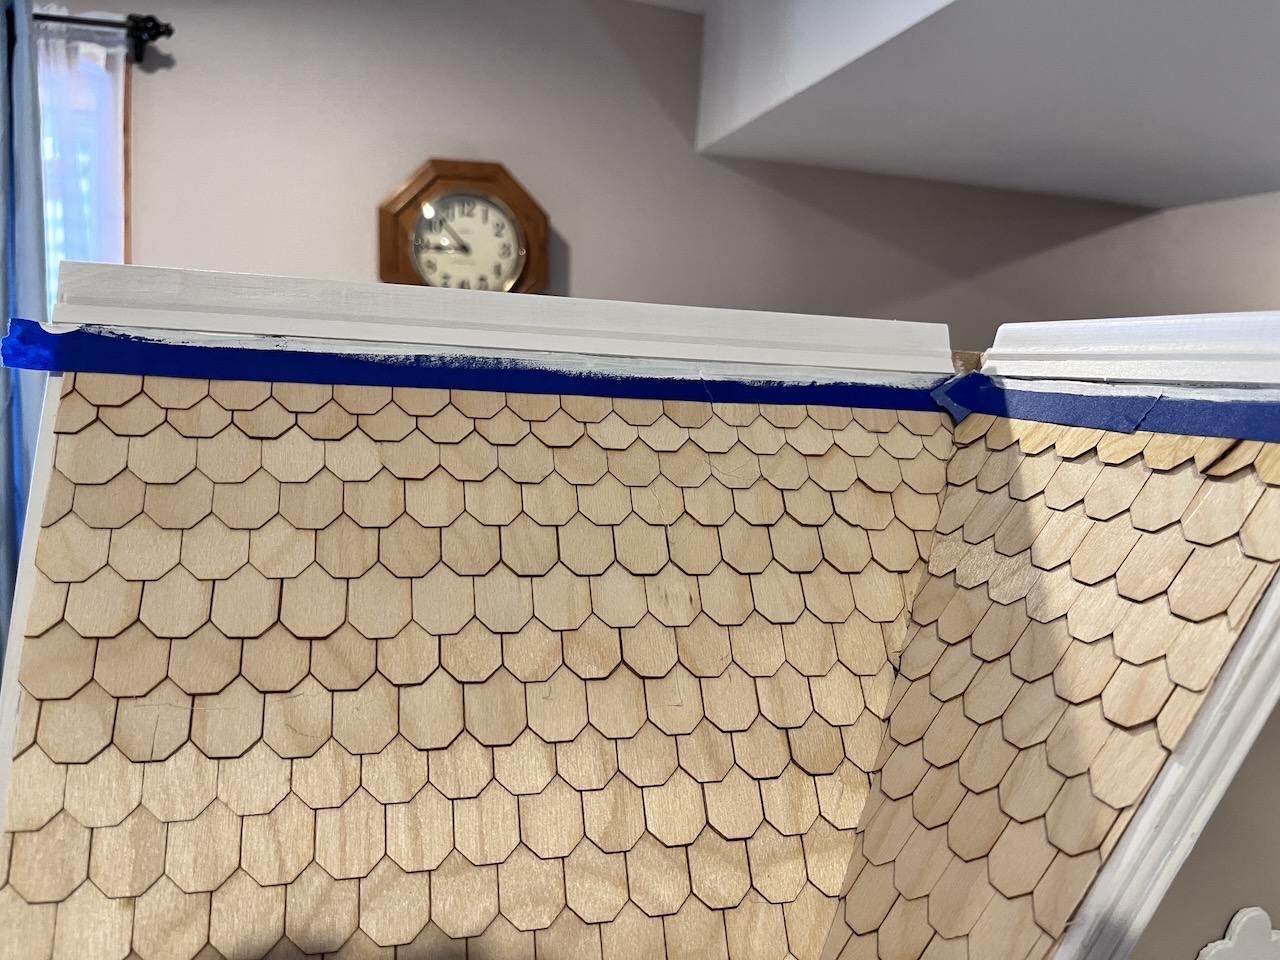
With the main roof shingled, the addition had only one challenge, shingling around the sky light.
I began by placing a wood strip along the end as a foundation for the first row of speed shingles so that that roof itself would not show through.

The strip shingles went into place quickly.

Looks like a mess, but I used full strips because it was easier to match the off-set, so there was more waste than what I liked; however, I save the end pieces to use the rows.

I had to order more speed shingles from Greenleaf, so I also ordered single shingles, which I used for the row that framed the bottom of the window.

In some cases the the variation in color might be an issue depending how the shingles are to colored. I will paint the roof gray, so I don't think the darker shades will matter that much.

I made the skylight so that the window pane piece could be easily removed and replaced.


I used white water base enamel interior paint with primer, so it goes on smoothly and easily.

I ordered the trim from an Etsy shop, Miniature Crush. Other online stores used to carry a wider selection of wood trims, but they seem be harder to find; fortunately, there are Esty vendors who carry good selections of speciality wood trims.

The roof molding is painted, too. I will install the decorative trim after the shingles are painted.


All in all, I'm quite pleased with the way the shingles turned turn out, tedious as the chore is.
I used my paper trimmer to trim the both the speed shingles and the single ones, using my a paper cutter, which will probably dull the blade. Oh well.

I attached the single shingles directly to a row of speed shingles before installing them on the roof. It just seemed easier to line them up.


I lined the up each, anchoring with painter's tape.

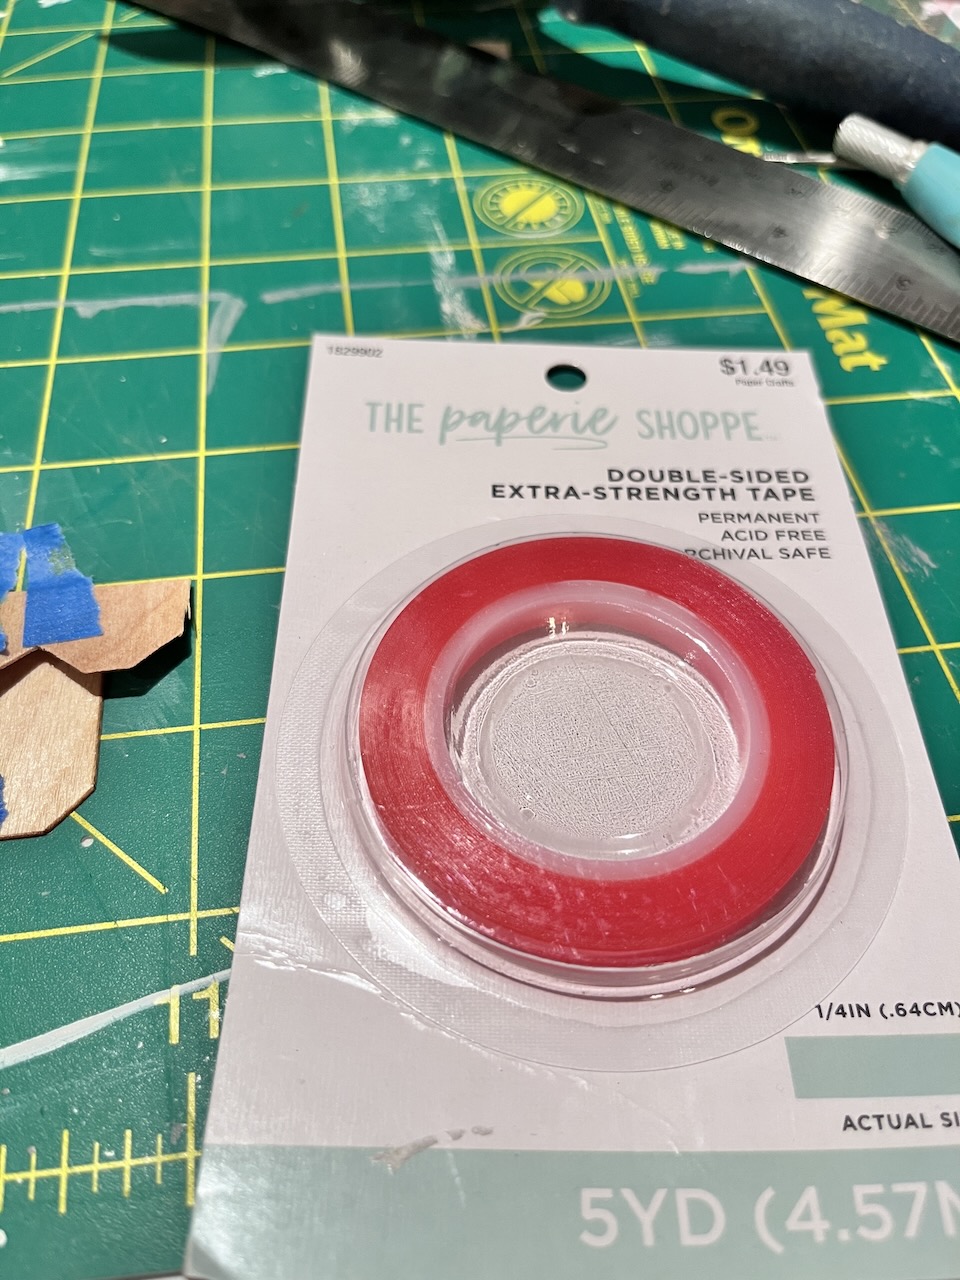
The using my favorite double stick tap, I taped them in place instead of using hot glue to reduce the bulk that a bead of hot glue can create.

The red protective cover peels off easily.

So there you have it. Final step: paint the roof. Maybe tomorrow. Maybe not.

Were I thinking, I should have just trimmed back the speed shingles instead of singles ones. 😐

Final major project: flooring for the 3rd floor. I purchased Cricut's veneer Walnut that I'lll cut the planks on the Cricut Maker. In another couple of weeks, the Manchester Country Home should be completed.

I am thankful that you stopped by. Have a great week.
Fondly,
Ann


