NOTE: If the text is too small to easily read, you can increase screen size on a Mac by pressing command and the + key.
Sometimes it doesn't take much to make people happy, and I so admire those who do and can make others happy. I try to be that person by being cheerful and positive. I often complement grocery store workers and others in their work places for the fine jobs they do. It doesn't take much to make someone's day just by saying, "I appreciate what you do." or "You are very good at what you do." or
"Thank you for your hard work." So today my hat goes off to Stacy Lyn at Vintage Dollhouse.com for the this amazing 1/144 scale kit that she has in her Etsy shop. I first found Stacy on Instagram where she features her vintage dollhouse pieces. When she previewed her newest kit, I had had to hop over to Etsy and place my order.
Thank you, Stacy for your hard work, which put me in my happy place with this wonderful little kit.
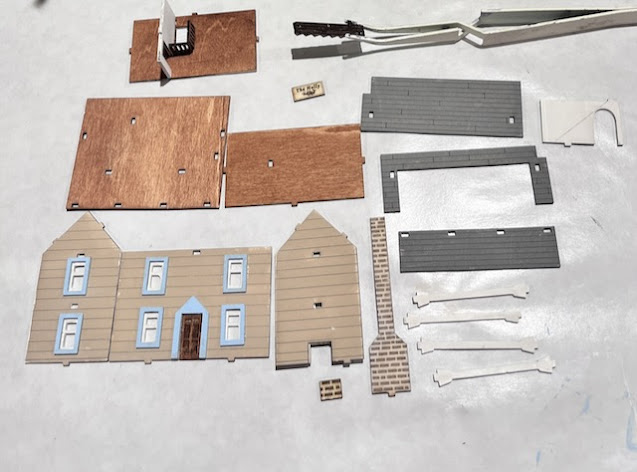
Last night I began the build. Of course I forgot my phone so I couldn't take photos of opening up the kit, so here are the pieces laid out after I painted them. They are tiny! While the kit comes with instructions, Stacy also providse a YouTube video that takes you through all the steps of assembling the house. You can preview the video here: https://www.youtube.com/watch?v=SHV4ld1AsXs&t=12s.
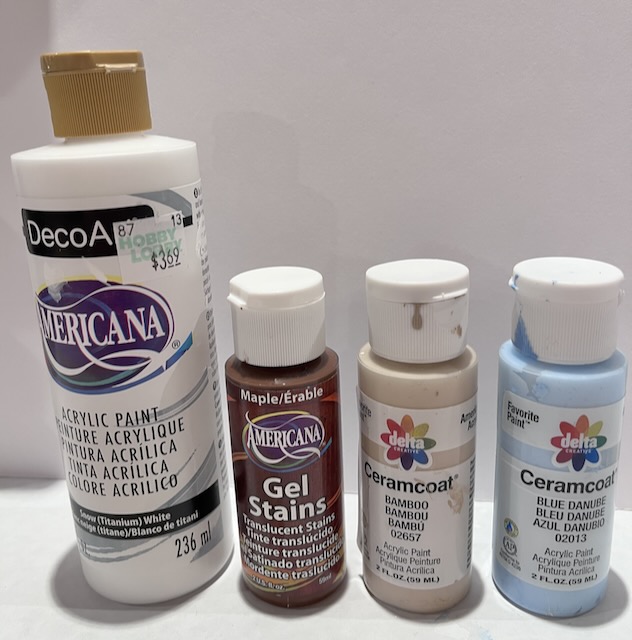
I used acrylic paint, including the gel stain for the floors, which I applied with a paper towel then rubbed it, for a nice hard wood-looking floor.
I used my needle nosed tweezers to hold pieces while I painted them. All the pieces are painted first. I painted the exterior first then the walls, which are all white. If I build more of these tiny houses, I hope to fin tiny wallpaper.
After the windows were installed, I painted the walls again to minimize the window gap.
Now all the pieces, including the roof are ready to assemble. Exterior pieces are glued place before assembly.
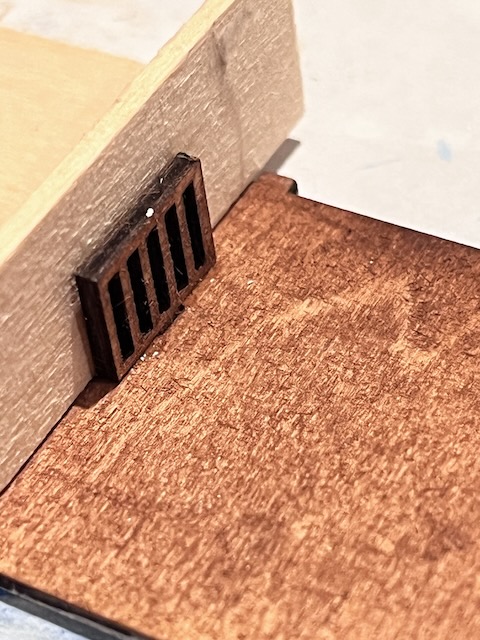
I used a partially built-reject drawer from scrap wood pile to use as a jig to line up interior walls and the stair rail on the second floor.
The pieces are so tiny and you would think the they are very delicate and easily broken, but actually the laser cut pieces are sturdy and quite forgiving. Stacy include some extra pieces just incase a builder ruins a piece, like a window or an extra stair piece. She also in provides what she calls a hole poke--a piece that you can use to clear extra paint for the tap insert slots.
If you look carefully at the stair wall in the earlier photo, it has a scored line to help place the stairs, making correct placement easily accurate--well maybe not.
Step by step I glued each wall in place.
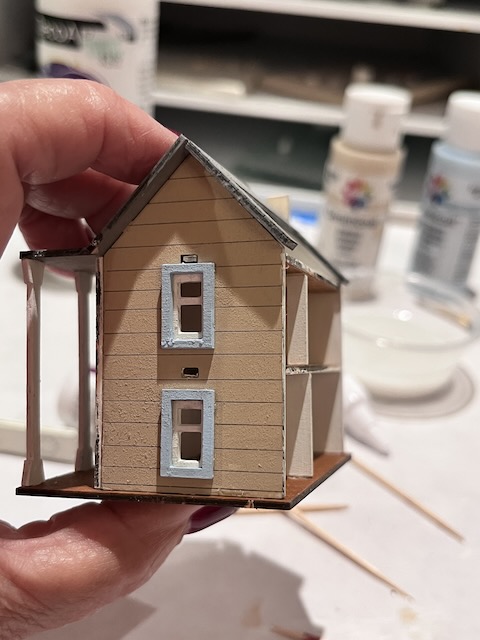
Stopping along the way to admire my work and take a photos. One thing I will do differently next time is to be sure to paint these back facing raw edges when I paint the pieces, not do touch-up after assembly.
Along the process, I discovered that at the tiny stair case was not lining up properly, so of course I had to disassemble the wall. Fortunately the glue had not quite set up, so I was able to remove the wall after the house was assembled and reposition the stairs. Pure luck that the wall went back into place as it should have.
When you make these mini kits, you really can't afford to make such errors.
Now it's time to do that touch-up work. Trust me, do it before assembly.
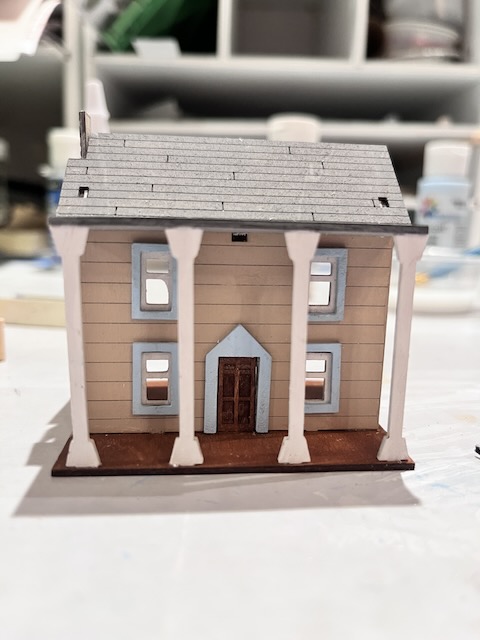
What a cute little house!
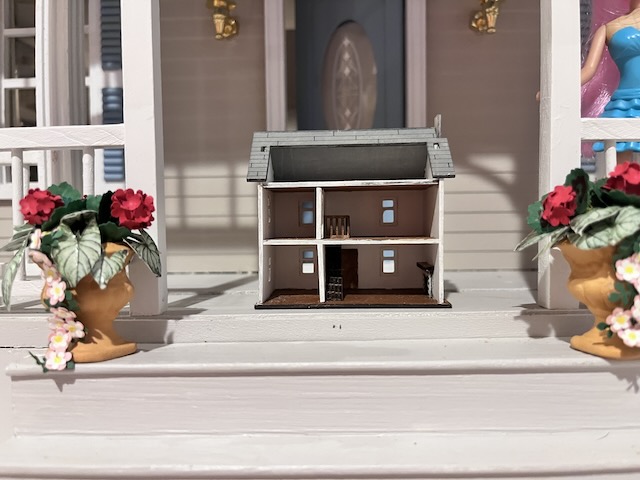
It will fit perfectly in the Manchester.
Pink is elated with her new mini, acting like she built it!
So there you have it. A mini project for a mini. The Manchester may have a dollhouse, but it still needs a roof.
With this mini project nearly completed (I have mini furniture kits! yet to assemble), I've decided that is a great time to take Ann's Dollhouse Dreams to Instagram. This project will be a great way to make that transition--well it really won't be a transition, just an addition. I'll keep the blog, but I'd like to join the IG miniature community. It's such great fun.
Look for me there soon.
I am so glad you dropped by.


