
Even though the daytime temperatures here in Northern Colorado have soared back into the 90s, there is a touch of fall in the early morning air. In my real world, our house has a fireplace with gas logs operated with a remote; now that is the Life of Riley. The Bellingham Farmhouse has two working fireplaces to keep those two rooms warm and cozy. While the fireplaces were easy to construct and install, the chimney has been such a challenge. The kit provided stencils and powder to create both the brick foundation and a stone fireplace, but the product worried me. I am coward builder, avoiding things that I perceive as too hard or complicated or beyond my limited skills, nor did I like the look of the stenciled brick. So I bought the little plaster bricks to make the fireplace, a kitchen wall, and the chimney, with crummy results because I am not a a very good brick layer or stone mason.
I have seen the work of other builders who egg carton for bricks and stone and the results look so realistic, so I know that you are asking why I didn't take that route? I may the next time, but here egg cartons are a precious commodity. We have 13 laying hens that when the universe lines up just right, they produce so many eggs that I sell them, and so I need to save my cartons. Anyway.
Here is the tale of two chimneys.


 The hardest part was rebuilding the chimney smoke stacks that the original kit did not have. I dug into my stash of wood for small pieces to cut and found a drawer that I had made for a wall shelf that didn't work out. It was perfect then I tried to duplicate it. Finally I got right. The hours that I spent rebuilding the chimney might have been better spent. The little stack piece required a lot of sanding to get it the right size, but I was pleased with the final results. Next, I had decided to use the product that came with the kit to create a stone chimney.


 \
\


I have seen the work of other builders who egg carton for bricks and stone and the results look so realistic, so I know that you are asking why I didn't take that route? I may the next time, but here egg cartons are a precious commodity. We have 13 laying hens that when the universe lines up just right, they produce so many eggs that I sell them, and so I need to save my cartons. Anyway.
Here is the tale of two chimneys.


I began by cutting new chimney pieces, using 3/32 bass wood purchased at Hobby Lobby. I used the original parts that were punched out of the plywood pieces to trace the patten on new wood. Then I cut the parts out using my scroll saw.

It is very hard to get a perfectly straight cut since the scroll saw does not have a cutting guide, so I sanded the edges smooth and straight. Bass wood is a very soft wood and can easily be cut with a utility knife, but I don't always get very good results with a knife either, and this required a lot of cutting. The scroll saw is a really valuable tool to have. If you plan to be a miniature builder, doing more than one house or project, it is a great investment. Mine is an older one that I found on Craig's list. I asked my husband to change the blade and was surprised at how much better it cut.

The new pieces look very good.

Here is the original chimney all bricked. Actually, it looks pretty good. I spent a lot of time on it and it seemed such a waste not to use it. But to me, it looked tacky. Awful.


Especially this piece because I didn't know what I was doing. I tried the mortar that came with bricks. It didn't work--as you can see here. So I ordered pre-mixed mortar. Another failure.
After spoiling the smoke stack, I used a product is a silicone and brick mortar used to repair cracks in the brick mortar on a house. I liked the results, but I did such an awful job placing the bricks to begin with.

This piece doesn't look too awful, does it? I just needed to do a better job of brick laying. Next time.

I began gluing pieces together.


Side by side the new chimney looks good.
 The hardest part was rebuilding the chimney smoke stacks that the original kit did not have. I dug into my stash of wood for small pieces to cut and found a drawer that I had made for a wall shelf that didn't work out. It was perfect then I tried to duplicate it. Finally I got right. The hours that I spent rebuilding the chimney might have been better spent. The little stack piece required a lot of sanding to get it the right size, but I was pleased with the final results. Next, I had decided to use the product that came with the kit to create a stone chimney.
The kit includes a stencil for bricks and stone. The bricks go on the foundation, while the stone goes on the chimney. I am going to paint the foundation gray to replicate a cement foundation.


The stencil is easy to apply. I tried to match the center seam, but found it impossible, but in the end it didn't make a difference the end result and overall look of the bricks.

You have to look really close to see where the seam is.

I created two practice pieces, one unpainted and one painted.The instructions said to paint the chimney first. I had this gray paint on hand, but after I finished the project, I wish had used a darker gray, even short of being black for a better contrast.

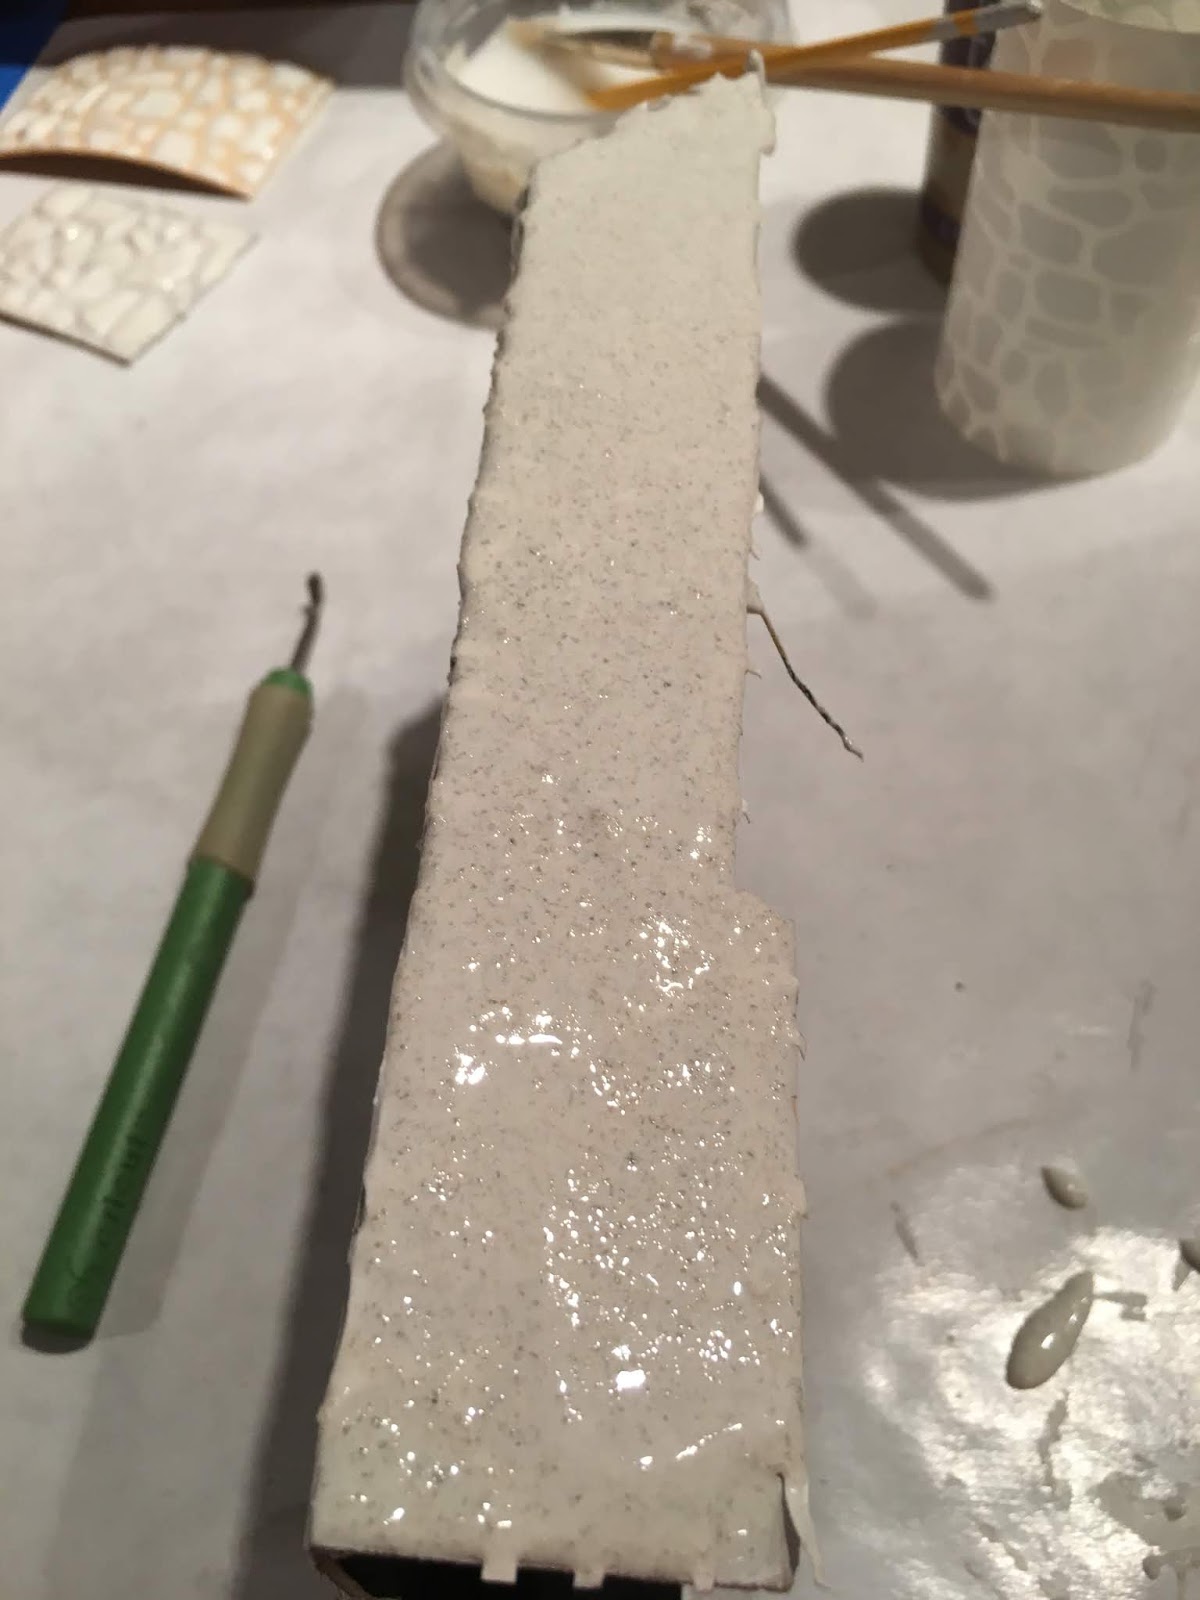
The stone mixture is a combo of white glue (Elmer's), equal amounts of water, and essential 3-1 ration of glue to powder; however, I realized that I need much much more powder to get cake frosting consistency and then as I worked, the stone mixture began to thicken almost even to the point that was too stiff, but I was nearly done.


Once applied, the directions say to way no more than five minutes before removing the stencil. I liked the results, but the stone seemed too runny, so I added more powered for a thicker more frosting like stone.

Then I went to work. I used a narrow craft stick to smear on the product. The instructions will say to use a trowel, but in the absence of such a tool, I improvised. The craft stick worked perfectly.


I liked the results. Sort of. I wished that I had painted the wood darker, but I was prepared to use this chimney--then I had second thoughts.
I did the unthinkable: asked my husband for his opinion. He has a good eye for detail--down the .1000th--he worked for 30 some years as a machinist, so I trust his judgment. He is also a perfectionist and I do value his thoughts, though I may not always listen.
I knew, too, which chimney he would choose.
 \
\
You can see the problem in these two photos with the brick chimney.

That wide gap at the top. Fascia trim will hide the gap, but the top part of the chimney does not line up.

He said, "That's okay. Who will notice? Will you notice once it is all be assembled? The lower part of the chimney is glued in place with the trim yet to be glued down. I'll wait until I begin the shingles before I guess on the trim and the top part of the chimney. I have more work to do on the smoke stack. I am going to use chalk to create soot around the outside to cover up the mortar boo-boo.

It actually looks pretty good. The stone chimney was too bland. I'll save it for another day.

The house is nearly done. I still have some trim to finish and the base to paint

This patio set is showing up all over the place. Found it at Hobby Lobby. Four pieces: Sofa, chair, side table, bench or coffee type table.
Love the dog. He is supposed to a German Short Haired pointer.

Found these cacti in the sticker scrap booking section at HL. Six to the pack. They are so cute. Perfect for an old Texas farmhouse.
So there is the tale of two chimneys. A long, grueling task to get it all sorted out and installed. I am liking the brick one. I've created a cover story: Young couple has purchased this old farm house and room by room is renovating. The original chimney will eventually need to be replaced, as the bricks continue to age and crumble. Does that work?
Thanks so much for visiting. Leave a comment so that I know someone out there is listening--reading.


Hi Ann!
ReplyDeleteI'm both reading and enjoying! I like both chimneys, and love the house! The green is so pretty!
If you should ever find that you don't like the color of the brick or grout, you might try a wash of a little warm toned white paint with water. 1:7, respectively is a good starting point. Also, I used those stones on one of my projects. I colored each individual stone with paint washes, though more like a 1:4 solution. Maybe try it on your test pieces, and maybe you can use that chimney too someday!
Keep up the great work!
I have so much learn and you a a very good teacher. I'll be building a house for my granddaughter and she has requested a chimney, so I will my rebuilt one. It looks a little plain, so I may seek you advice on how to paint it.
Delete