
From the beginning, I had in mind a sleek, modern bathroom for the Manchester. Some time ago I ordered this porcelain shower base from Elf Miniatures in the UK, certain to use in my next house. However, it's too big for the space dedicated to the shower unit. Once I add the window casing, this shower won't work.

I started out with these materials: 1/4 inch foam board for the walls, teal foil scrapbook paper for the scale tile, paper octagon flooring that I purchased from Michaels--cool stuff, but no longer in stock, 1mm acetate from Hobby Lobby. As I worked through the design, I used Cricut brand 2mm chipboard to cut the rim for the shower base. I tried cutting the rim for the foam board, but just could not get smooth, even cuts.

My first attempt to cut the walls was a big fail because I used hot glue to adhere the pieces, but hot glue is too hard to dispense and control. I recut the entire shower and glued the walls together Aleene's Tacky glue with much better results. I cut the shoer base, but foam board just didn't give the results that I wanted. I cut tow pieces and glued them together to get the height of the porcelain base

I needed to find a way to cover the base with the octagon tile with rather sad results, so I decided to create rim that would fit on top of the shower base to give it depth and shape. Foam board is really hard to cut straight. I'm getting better at cutting it, but it still isn't the perfect material.

The shower base looks messy. The paper tile didn't fold neatly when I tried to cover the two base pieces glued together and the base is flat. It needs sides or something to give it depth. Water would just spill out, so I had to create some sort of rim or lip, and I needed a better material to cut the base from. I measured my shower base then cut a piece of scrapbook paper on the Cricut to create a template for the top of shower base and for a perfect fit. Now I was on a roll.

I wanted to match the thickness of the porcelain shower base, which two layers of foam board created, but base was flat, so I dug in my wood stash and found this piece of balsa wood and cut it to fit the my rim template to create new shower base, but it still needed a lip or bit of wall to give the base depth and to hold water.


I realized that I could create that rim using chipboard. I didn't need the rim to be very thick because the balsa had the thickness. The great thing about Design Space is that I can create exact measurements to the mm and I can get clean, accurate cuts.
I loaded my scrap of chipboard and cut three rims for a nice, thick shower rim that would fit on top of the wood base, giving it depth and preventing the water from spilling out on the floor.
It ain't pretty, but the scrap had enough space to cut my 3 pieces.

Three 2mm rims were too thick, so I glued 2 together.

I cut the tile paper on the Cricut to get perfect fitting pieces to cover the shower base.


I painted the chipboard rim white and glued it to the balsa wood base then I used wallpaper paste to adhere the paper tile to the shower base.

And there it is, a new shower base. I would still prefer the porcelain base, but this one will do just fine.


While the glue set, I painted my fixtures using Testor's model enamel paint. I ordered the fixtures for Shapeway's Marketplace from a vendor Paper Doll Miniatures. (Her blog) She is very sweet. After I received my order, I messaged her for suggestions on how to paint the 3-D printed bathroom fixtures and received the sweetest reply.

I'm painting them antique gold. One bathroom in our old house, a custom built house, had gold faucets in a bathroom. I loved the elegance of the gold, which seems to be making some what of a return in more modern bathrooms.

The shower will have one "glass" pane made from acetate. I cut my acetate on the my paper trimmer, making one pass to score the acetate rather than cut it. I do not remove the protective cellophane covering both sides to prevent scratching the acetate and the blade slides over it more easily. The acetate will snap apart easily along the scored line.

I used bead and glass glue to adhere the acetate to the thin edge of the shower wall for a clean, modern look. Attaching glass shower panels can be quite a challenge and I would have had to order some channel moulding to have working shower doors, but as I searched for shower design I discovered that some showers have minimal surrounds, some only have one glass panel. Good enough for me. I hate cleaning shower glass, anyway. (That's why when we remodeled our own master bath, I opted for a shower curtain rather than a large glass shower door that I knew I'd never be able to keep clean.)

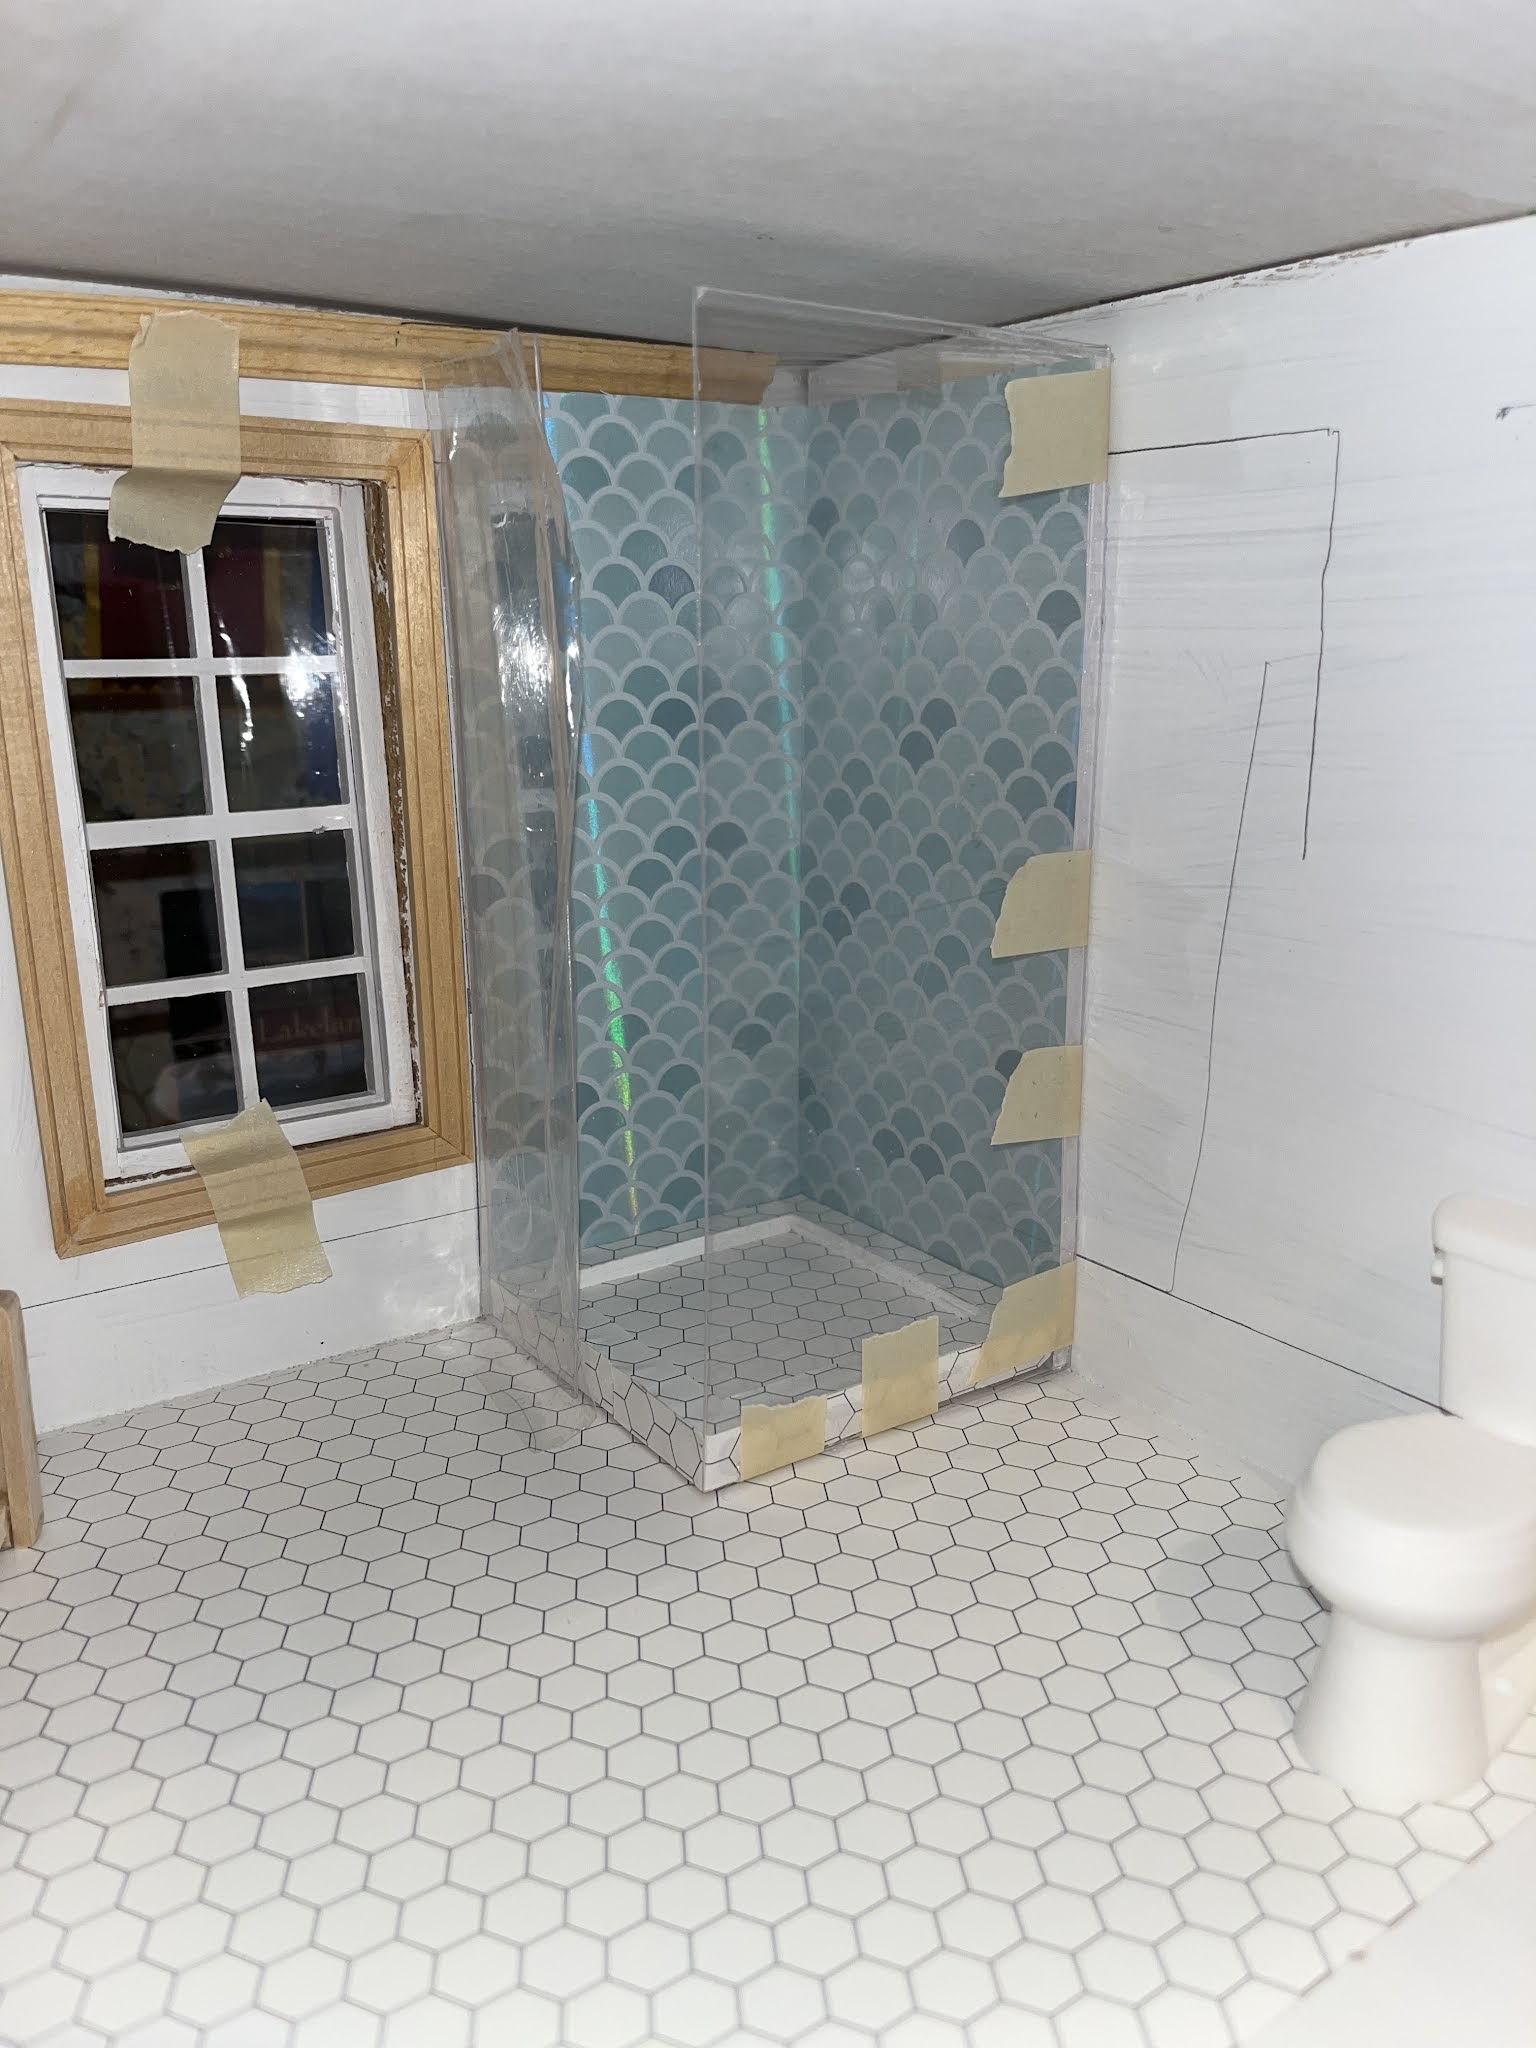
I'm letting the shower rest tonight to give the adhesives time to cure. There is more to do in the bathroom before the final install, but this major project is almost done. Tomorrow I'll install the shower head.

And that's what I did today. Actually, I started the project yesterday. Making the shower was big project. I wasn't sure that I'd be able to get the materials that I chose to work. I created quite a scrap pile of failure, but once I decided to use the Cricut to make the more difficult cuts, I was home free.
Thanks for joining me.


Persistence paid off! You found just the right way to use your selected materials to make a beautiful, modern shower. That teal scallop tile is lovely.
ReplyDeleteAnn I love all your ideas for the bathroom, and you found the perfect materials to use! I love how you kept trying ideas until you found the right solution - the shower pan came out amazing! And I love the wall tiles and the acetate surround! This bathroom is going to be a showpiece, and you should be extremely proud of your ideas, design and abilities! Can't wait to see what you have in mind for finishing the vanity!
ReplyDeleteLooks good Ann. Worth the hassle!
ReplyDeletewhat a lot of problems to solve. All sorted and a great result.
ReplyDelete