
I've been especially enjoying the red, white, and blue for the 4th of July celebration this year. I don't decorate the big house so much. I put patriotic buntings on the fence at the driveway and patriotic barn stars on the brick entry way to the courtyard. It's enough. However, I have long wanted to decorate the Bellingham Farmhouse, so here are the projects that I've been working on.
Some time ago I purchased these wooden stars at Hobby Lobby. I don't know if they still have them or not, but they are fun to decorated with. I purchased two sizes, painting the largest one to look rusted. It was installed on the house before I finished the house, I liked it so much. Now the smaller star give the house that nostalgic, patriotic feeling.


I did the best I could painting the tiny points. When I finished it was too red and wished that I had give it a rusty, weathered look.

So I mixed blends of paints to try to get the rust color that I wanted.

Well, things didn't go well with the rusted wash. Anyway. It is what is and looks weathered and worn with a bit of sanding, too. I may work on it some more, but I thought I'd quit while I was ahead.

This next project went well, though. Quite simple. I found the patriotic bunting flags online, printed them, then cut them out leaving a top edge the I folded over toward the back, trimmed away the excess, applied some white glue and glued them to, of all things, left over round wired cut from an old plug end of a lamp.

I like the look.

I designed my pillow tops in my Cricut Maker Design Space

Create the pillow top: 2x2 inches
Use Shapes button to grab a square.
Select it, change color from black to white
Import your images (green truck and first poppy)
Red, white, and blue truck: purchased .svg file from Etsy
To add text: select desired font and type phrase; I centered my phrase underneath the image, attached the two images the flattened them for print and cut. If you don't flatten the image, even though the text is printed, the machine will cut it out, even the text. So make sure not forget to flatten image and text. The svg truck has layers so if it isn't flattened, the layers will be distributed on different mats to be cut, so make sure to flatten the images and the text. I found it easier to attach the image and text and flatten before I place it on the pillow top where I attach it.
Because I wanted the Cricut to cut the backs, too, I duplicated a plain top to make 6 backs of the pillows.
Group your images and attach them so that when they appear on the cut screen they stay the way you organized them.Tricky.


The second method is much simpler: printable fabric, mostly used by quilters who want to make photo album type quilts.
The butcher paper adheres to the fabric nicely with a bond strong enough to run through a printer, but not strong enough to run through the Cricut. Print the images on the bonded fabric then remove the fabric from the freezer paper and place it on the pink Cricut mat to cut the images. To cut the fabric, choose the cotton setting which require the rotary blade.

The muslin accepts the ink nicely. Just make sure to let the ink dry before you place it on the pink mat for cutting fabric.
I created my pillows in Cricut Design Space making the images "print and cut." The images are sourced through a number places, including Design Space images. The blank space indicated where the pillow backs are placed.
Remove the muslin from the waxed paper and place it on the pink mat for cutting. Use the Cotton setting and the rotary blade.


The results were mixed. The Cricut cut the fabric nicely, but the fabric edges fray pretty badly, but more disappointing were the images on the pillow tops were not centered. What a bummer. They looked centered in Design Space. I used the center align tool to make sure they were, so I'm not sure what why the graphics aren't centered.


But I decided to sew them up anyway.

I sewed one side seam first, pressed it open, then folded what would be the top hem to close the pillow after the stuffing is added and ironed it down for easy folding.
With the sides seamed, I was ready to stuff the pillows. For some I used quinoa to fill some and wool fiber fill for others.


I wasn't happy with fraying fabric and because the images weren't centered, I decided not work with the first batch.
So I re-designed the pillow tops in Design Space and printed them the printable fabric, with very nice results. Use the Printable Fabric with the fine point blade. Leave the fabric attached to the backing. The machine will not cut through it. I used Hobby Lobby's store brand mat that is reallllly sticky.


Very nice results. No fraying. Clean, nicely printed images.
I followed the same procedure to assembling.
Except! While the first batch pillows were 2x2 inch squares, which would yield a 1.5 inch pillow, I thought the image was too small, so this batch was 2.5x2.5 making them too large and out of scale.
Darn it. They looked so nice.
But there is a down side to this fabric: it is very stiff. I didn't like the stiffness and I don't have the vintage look that I wanted, so I made these pillows anyway. Maybe Barbie would like them.


They look great, but not what I want.

I really like the muslin pillows for the old, vintage look.

I decided to make another batch. And that was a near disaster. I figured that if left the paper backing on the commercial paper, I could leave it on the muslin. Bad idea. With out going into details, the fabric separated from the wax paper and go caught in the blade and jammed the machine. I feared I had ruined my machine because I couldn't unload the mat because the of the waded up fabric. I did finally get the mat and fabric removed. Whew. I was able to still use the fabric and didn't have to reprint. I smoothed out the wrinkles, relocated it on the pink mat and began the cutting process again. There was smudge ink and some damaged threads, but that only enhanced the "used" look. Since the muslin wadded up before it was cut, I was able to salvage this set of pillow tops.
Because the muslin frays so badly, before I removed it from the pink mat, I applied Fray Stop to the edges and let it dry. Worked great, but when I cleaned my mat with Dawn and hot water, the Fray Stop didn't wash off. The mat isn't totally ruined--I don't think.


While the Cricut handles fabric nicely, I've found that when fabrics fray so badly you are left with a very messy mat.To remove threads that have frayed off and stuck to the mat, I used wide masking tape to remove the threads--sort of like getting eyebrows waxed. Then I washed it with Dawn and scrubbed with kitchen sponge and let dry.
The newly cleaned mat shows wear and tear, but I think it's still usable.

While I was at it, I had a corner of printable fabric left that I taped to computer paper and printed the two rugs from a Word document.

I filled the larger pillows (gray --another blooper) with wool stuffing. They are the 2.5x2.5 designs, so I cut down the edges to make smaller pillow, so my bloopers won't go to waste. The muslin pillows were filled quinoa (because I don't how to cook the stuff) so that they sit more naturally. I glued the seam shut with fabric glue.

The rejects.

These are my leftover messes.
I love this new rug that I ordered of Green Gypsies on Etsy. Love her mini items.

I left the backing on my rugs to give them some body.


The swing is a Hobby Lobby Fairy Garden item, which fits on the Bellingham balcony nicely.


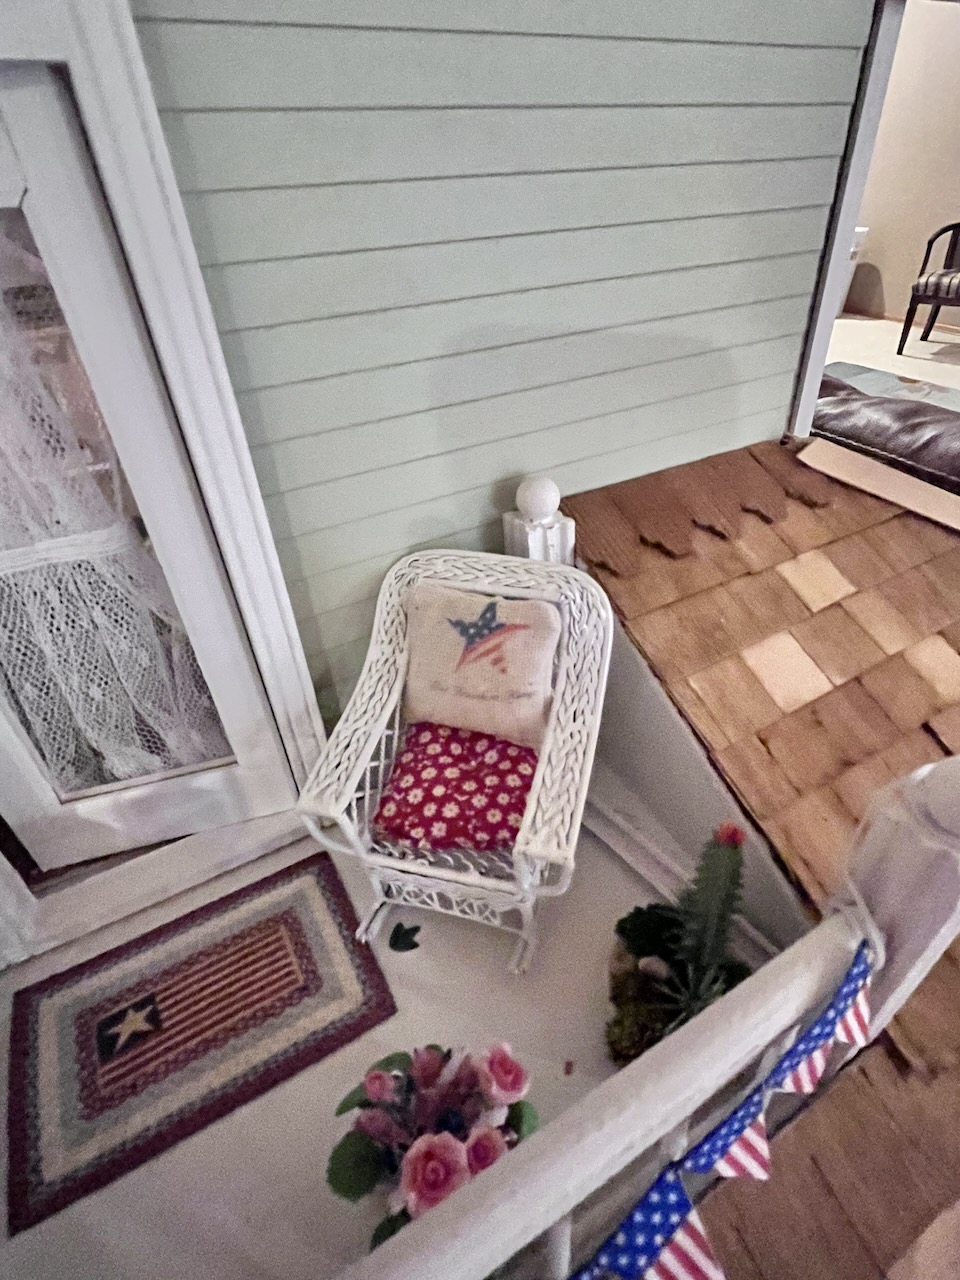
The balcony is a nice spot sit on a hot summer evening with glass of sweet tea, don't you think?
The buntings came for Green Gypsies on Etsy, too. They were my inspiration for my pillow project. Two of the best pillows are on the bench.

I love this house; my interpretation of a modern Texas Farm House all decked out to celebrate Independence Day.

Some final notes:
Printing on fabric is pretty easy. Choose nice, neutral colored cotton or muslin that also comes in white if you don't like the tan.
You can design your images in your favorite computer program, which is sometimes easier than Design Space. I use Microsoft Word, but Pages, Adobe, and other design programs can be used.
For printing rugs, the printable fabric is prefect because it is has a stiffness and you don't have to remove the backing for firmer rug. I printed mine from Word and used scissors to cut rugs out.
Using the Cricut Design Space does take some experimenting, which can be costly, if nothing else. Even after redesigning my pillow tops, they still didn't print correctly. I think rather than fooling with it, I'll make simple images in Word and hand cut them once printed on the fabric--that is if I make throw pillows again.
I leave this project with renewed respect for my favorite venders on Etsy who offer beautiful handmade fabric items that are perfectly made.
To my American Friends:
Good Bless America
And bless the men and women who serve and protect.
Thanks for visiting.
Have a great week.


The house is beautiful Ann, your pillows are lovely.
ReplyDeleteThanks for stopping and for your kind comment.
DeleteWhat a fun endeavor to pursue, Ann! The Bellingham looks perfectly festive and ready to host the Independence Day celebrations! All your trial and error with the pillows really gave dividends because you learned exactly what works, what doesn't and why. That kind of craft research is invaluable - thank you so much for sharing your findings! And the best part is you ended up with a bunch of charming pillows! I love your bunting, too! I bet you could make a Print Then Cut pattern for them in Design Space with all kinds of great patterns for every occasion! A fun endeavor itself! Have a wonderful weekend!
ReplyDeleteYou always inspire me, Jodi, so I do appreciate you support and kind words. I get so frustrated when things don't go right, but do-over and repeats are exactly how we learn. I'm glad that you appreciate that.
DeleteI actually Really Like your off center "reject" cushions Ann! and I find the mix of scales in the designs you've chosen, look very attractive on the outdoor furniture but I do hope that you'll find a place to display that Lovely Red truck pillow that you've made too!
ReplyDeleteAnd I also LOVE the look of the patriotic bunting displays across the banisters along with the aged and faded painted star above the door.
Everything looks raring to go for your upcoming 4th of July celebrations on your Bellingham. All you need now for your Texas farmhouse celebrations are some yellow roses growing in the garden, a picnic table in the yard, a BBQ serving up mini hamburgers and steaks on the grill with a big bowl of potato salad on the side- YUMM!
GOD BLESS AMERICA! ♥️
Oh Elizabeth, do raise the bar for me. I do have a garden in the works for the house. Taking your advice, I'll finish the. pillows, off centered or not, and toss them about the interior. Thanks for your encouragement.
Delete