Showing posts sorted by relevance for query speed shingles. Sort by date Show all posts

Monday, February 5, 2024

Close to the Finish Line


Note:[To increase the font size or screen size: Mac: Command +. Windows: Start>System>Display] 

From the beginning this simple farmhouse style 3 story house caused me problems because I decided to do what some call "kit bashing," which I really am not very good at. I wanted a larger house, so because this house resembled a Real Good Toys Vermont farmhouse, I bought one of the company's sweet additions to add two more rooms, assuming it would be a perfect fit. I decided, too, that the addition's roof should have a sky light. I fumbled my way through, struggling because the addition really didn't attach as seamlessly as it would have to one of Real Good Toys current kits.


Still I preserved and herd she is in the final stages of completion. 


With the main roof shingled, the addition had only one challenge, shingling around the sky light. 
I began by placing a wood strip along the end as a foundation for the first row of speed shingles so that that roof itself would not show through.


The strip shingles went into place quickly.


Looks like a mess, but I used full strips because it was easier to match the off-set, so there was more waste than what I liked; however, I save the end pieces to use  the rows. 


I had to order more speed shingles from Greenleaf, so I also ordered single shingles, which I used for the row that framed the bottom of the window. 


In some cases the the variation in color might be an issue depending how the shingles are to colored. I will paint the roof gray, so I don't think the darker shades will matter that much.


I made the skylight so that the window pane piece could be easily removed and replaced. 


 I used white water base enamel interior paint with primer, so it goes on smoothly and easily.


I ordered the trim from an Etsy shop, Miniature Crush. Other online stores used to carry a wider selection of wood trims, but they seem be harder to find; fortunately, there are Esty vendors who carry good selections of speciality wood trims.


The roof molding is painted, too. I will install the decorative trim after the shingles are painted.
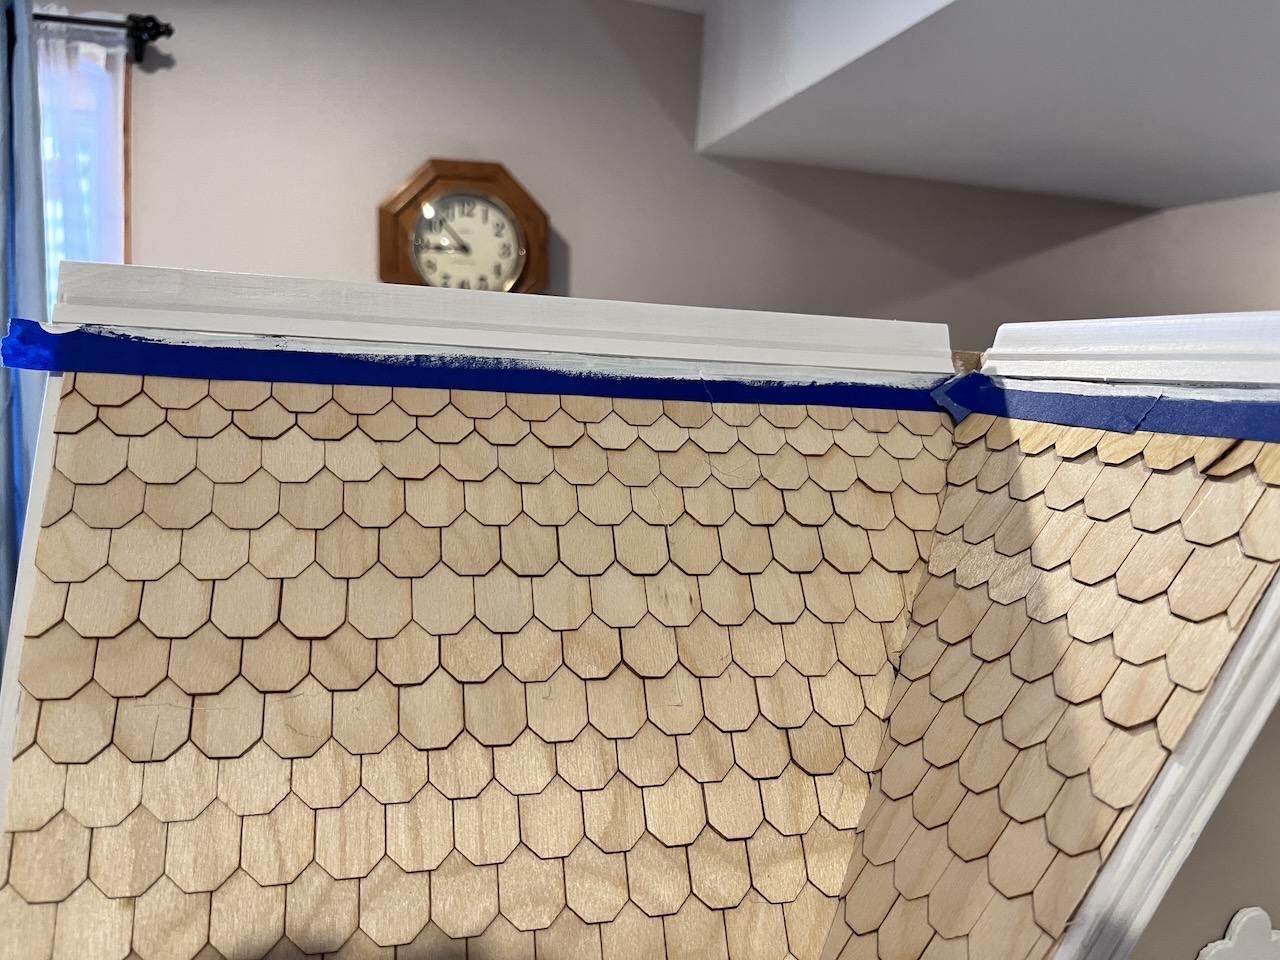


All in all, I'm quite pleased with the way the shingles turned turn out, tedious as the chore is.

I used my paper trimmer to trim the both the speed shingles and the single ones, using my a paper cutter, which will probably dull the blade. Oh well.


I attached the single shingles directly to a row of speed shingles before installing them on the roof. It just seemed easier to line them up.


 I lined the up each, anchoring with painter's tape.

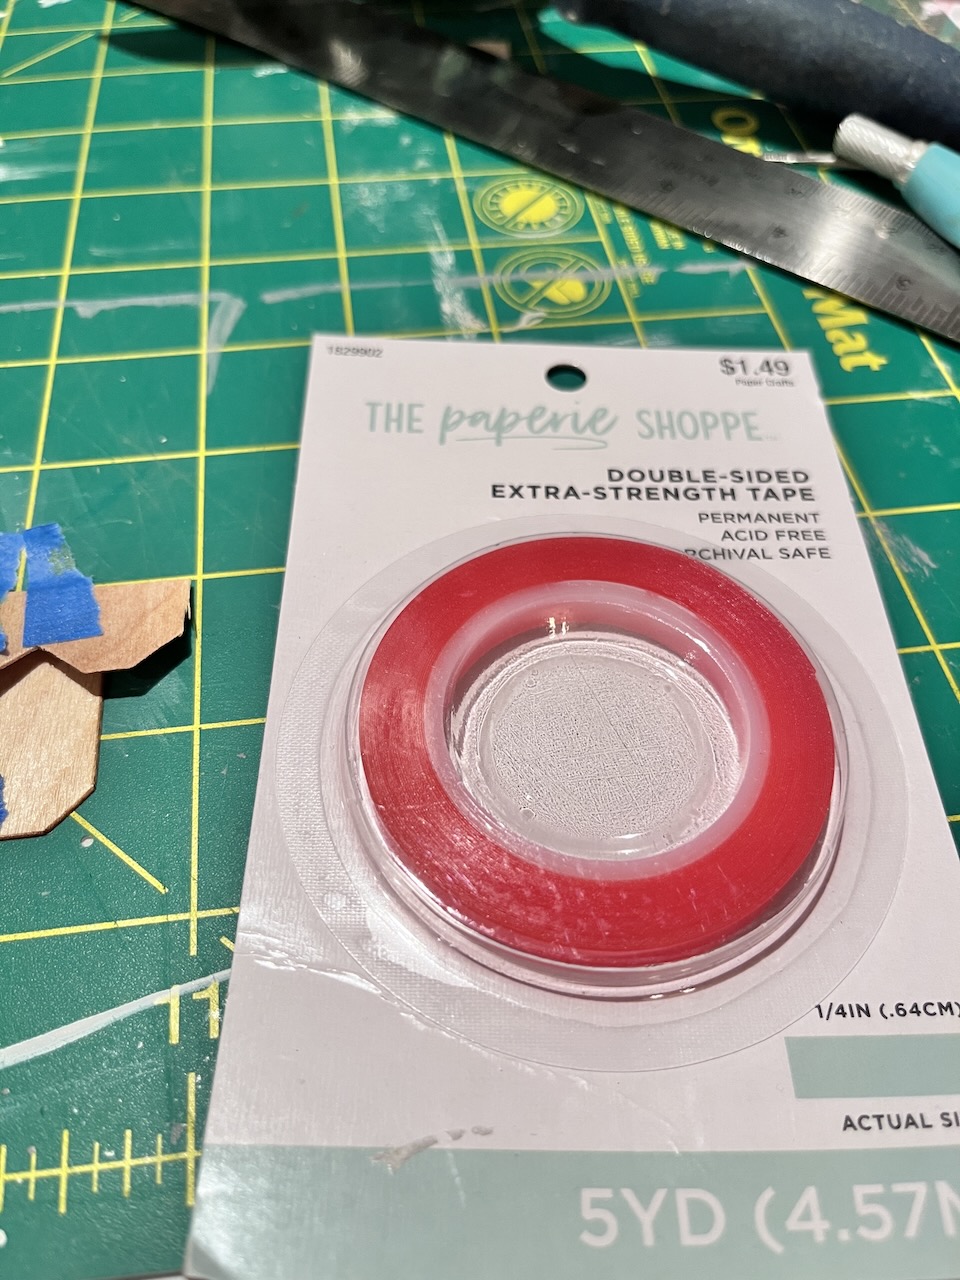
The using my favorite double stick tap, I taped them in place instead of using hot glue to reduce the bulk that a bead of hot glue can create. 


The red protective cover peels off easily.


So there you have it. Final step: paint the roof. Maybe tomorrow. Maybe not. 


Were I thinking, I should have just trimmed back the speed shingles instead of singles ones. 😐

In my last post, Jodi wondered if I might cut my shingles on my Cricut Maker. Interesting that you should ask, because I did try to design my own as I waited for the Greenleaf deliver. I would use Cricut's very thin veneer which comes in 3 woods: Oak, Maple, and dark Walnut. I do have a large stash of shingles, which I really would like to use up, but probably won't. 
 
Final major project: flooring for the 3rd floor. I purchased Cricut's veneer Walnut that I'lll cut the planks on the Cricut Maker. In another couple of weeks, the Manchester Country Home should be completed.


I am thankful that you stopped by. Have a great week.

Fondly,
Ann

Sunday, January 21, 2024

Roofing: Project Nears Completion

According to last week's weather reports, most of the mid-section of the USA and the eastern seaboard suffered unusually cold and snow. Here in Northern Colorado, we were cold, too, and received less than two inches of snow, which by the way lingers. I'm not an outdoor winter person anymore, so I retreated to my basement workshop last week with one goal in mind: roof the Manchester Country Home! 


If you have followed the saga of this miserable roof project,  you know the challenges that I've had. The mish-mash of guide lines tells the sad story of my inability to get the roof right. My first attempt on the left shows my failed faux metal roof look. I just didn't like the looks and then I tried the shake shingle look and had a lot of trouble getting them straight and removed them. 


So now with a clean slate, I ordered speed shingles for Greenleaf Dollhouse supplies. I've used the before on the Bellingham Texas Farmhouse, so I thought they would be a good alternative. 


I began by making templates of each roof section to assure a more accurate cut of the angles on the roof, taping each row in place with masking tape. The shingles line up off set with the above row barreling covering the slit in the bottom row. 


The shingles line up fast and neat.


Next, I trim off the inside edge that butt up against the peaked roof. I trim the straight edge slightly and will finish trimming once the shingles are permanently placed.


Now I attach each row one at a time with tape, lift the shingle, and run a bead of hot glue then press the shingle in place and remove the tape and add the next row.


Wow. The first elevation is finished--well almost. I had already added the roof moulding so I will have to creatively finish the top edges. Ideally, the speed shingles will be place all the way to the peak of the roof and trimmed to fit then covered with trim, but my roof moulding is already in place, as well as some of the edge trimming. 


Now the right elevation has shingles in place on the template.


The shingles line up so easily with out having to mark lines. That was one of my problems--I could never get the lines straight. 


Another finished roof.
Felling pretty good now. I can do this!


I am quite pleased with the work because cutting the angled ends and getting each strip of shingles correctly place does required concentration.


The front pitched elevations are particularly troublesome, but I followed my plan: place on the template, trim the inside seam and then the out side edge after the shingles are in place.


My worst fear: an offset lineup. I will share with you next time how I fix this problem. Once again, don't add any roof trim until after the shingles are in place. The same holds true for the trim work on the edge of the roofs. It's much easier to get a clean line when you trim the shingles to size before the decorative trim has been added. 


This side lined up much better.


To finish the roof with the moulding already place, I will cut down the shingle strip


And add some gingerbread to give a finished look.


Once all the shingles are in place,  I have to decide how to finish them: stain? or paint? I've had in mind all along that this house house will have a gray roof.


So there you have it. For the most part the Manchester has a roof--except for the wretched addition.


This roof should be easy. Ha. I had to try my hand at kit bashing and added a sky light window. 


I'll have to do some fancy trimming to get the shingles placed properly.


I do have a template, but I'm going to add each shingle one layer at a time, trimming as I go.🤞


So. There you have it. The back side still needs shingles, but I had to order another package and I'll have enough to do the garage. In total I purchased 4 packs of shingles at about $15 each--but then I don't have buy a ski-pass, so I'm good. 

Thanks for joining me. 

Have a fine week. 

Fondly, Ann


Purchase your speed shingles here: Greenleaf Dollhouse Dollhouses


Bargains Galore and So Much More: It's nice to back Hello friends. Yes, I have been MIA for quite a long while. I first took a hiatus fr...