Note: to increase the size of print, enlarge text, zoom out your screen by pressing command + on a Mac or CTRL + on a PC.
A roof is supposed to cover and protect the the top of the house, even a doll's house. The Manchester with its steep rooflines and sharp front peak has been particularly challenging.
So where to start? Well, you know the back story if you have been following along. First came the inspiration to create a faux metal roof after seeing the beautiful roofs on Instagram that builders are creating, but this roof presented a huge problem with it's peaked front roof, making it nearly impossible to get a good looking design, so despite cutting up two packages plus some of 1/8"x 1/4" x 24" lumber and buying the dark gray paint, I decided to shingle the roof.
I have a large stash of shingles. Each kit comes with shingles. The Bellingham Farmhouse shingles went into a storage tub because I used Greenleaf speed shingles that come in a strip. Here's the tutorial for that project: Roofing. They were easy to use, but now with summer humidity in the basement, they are buckle and warp, so while I could have purchased them for this house, I reminded myself of rule 1 for this build: use up my stash of stuff.
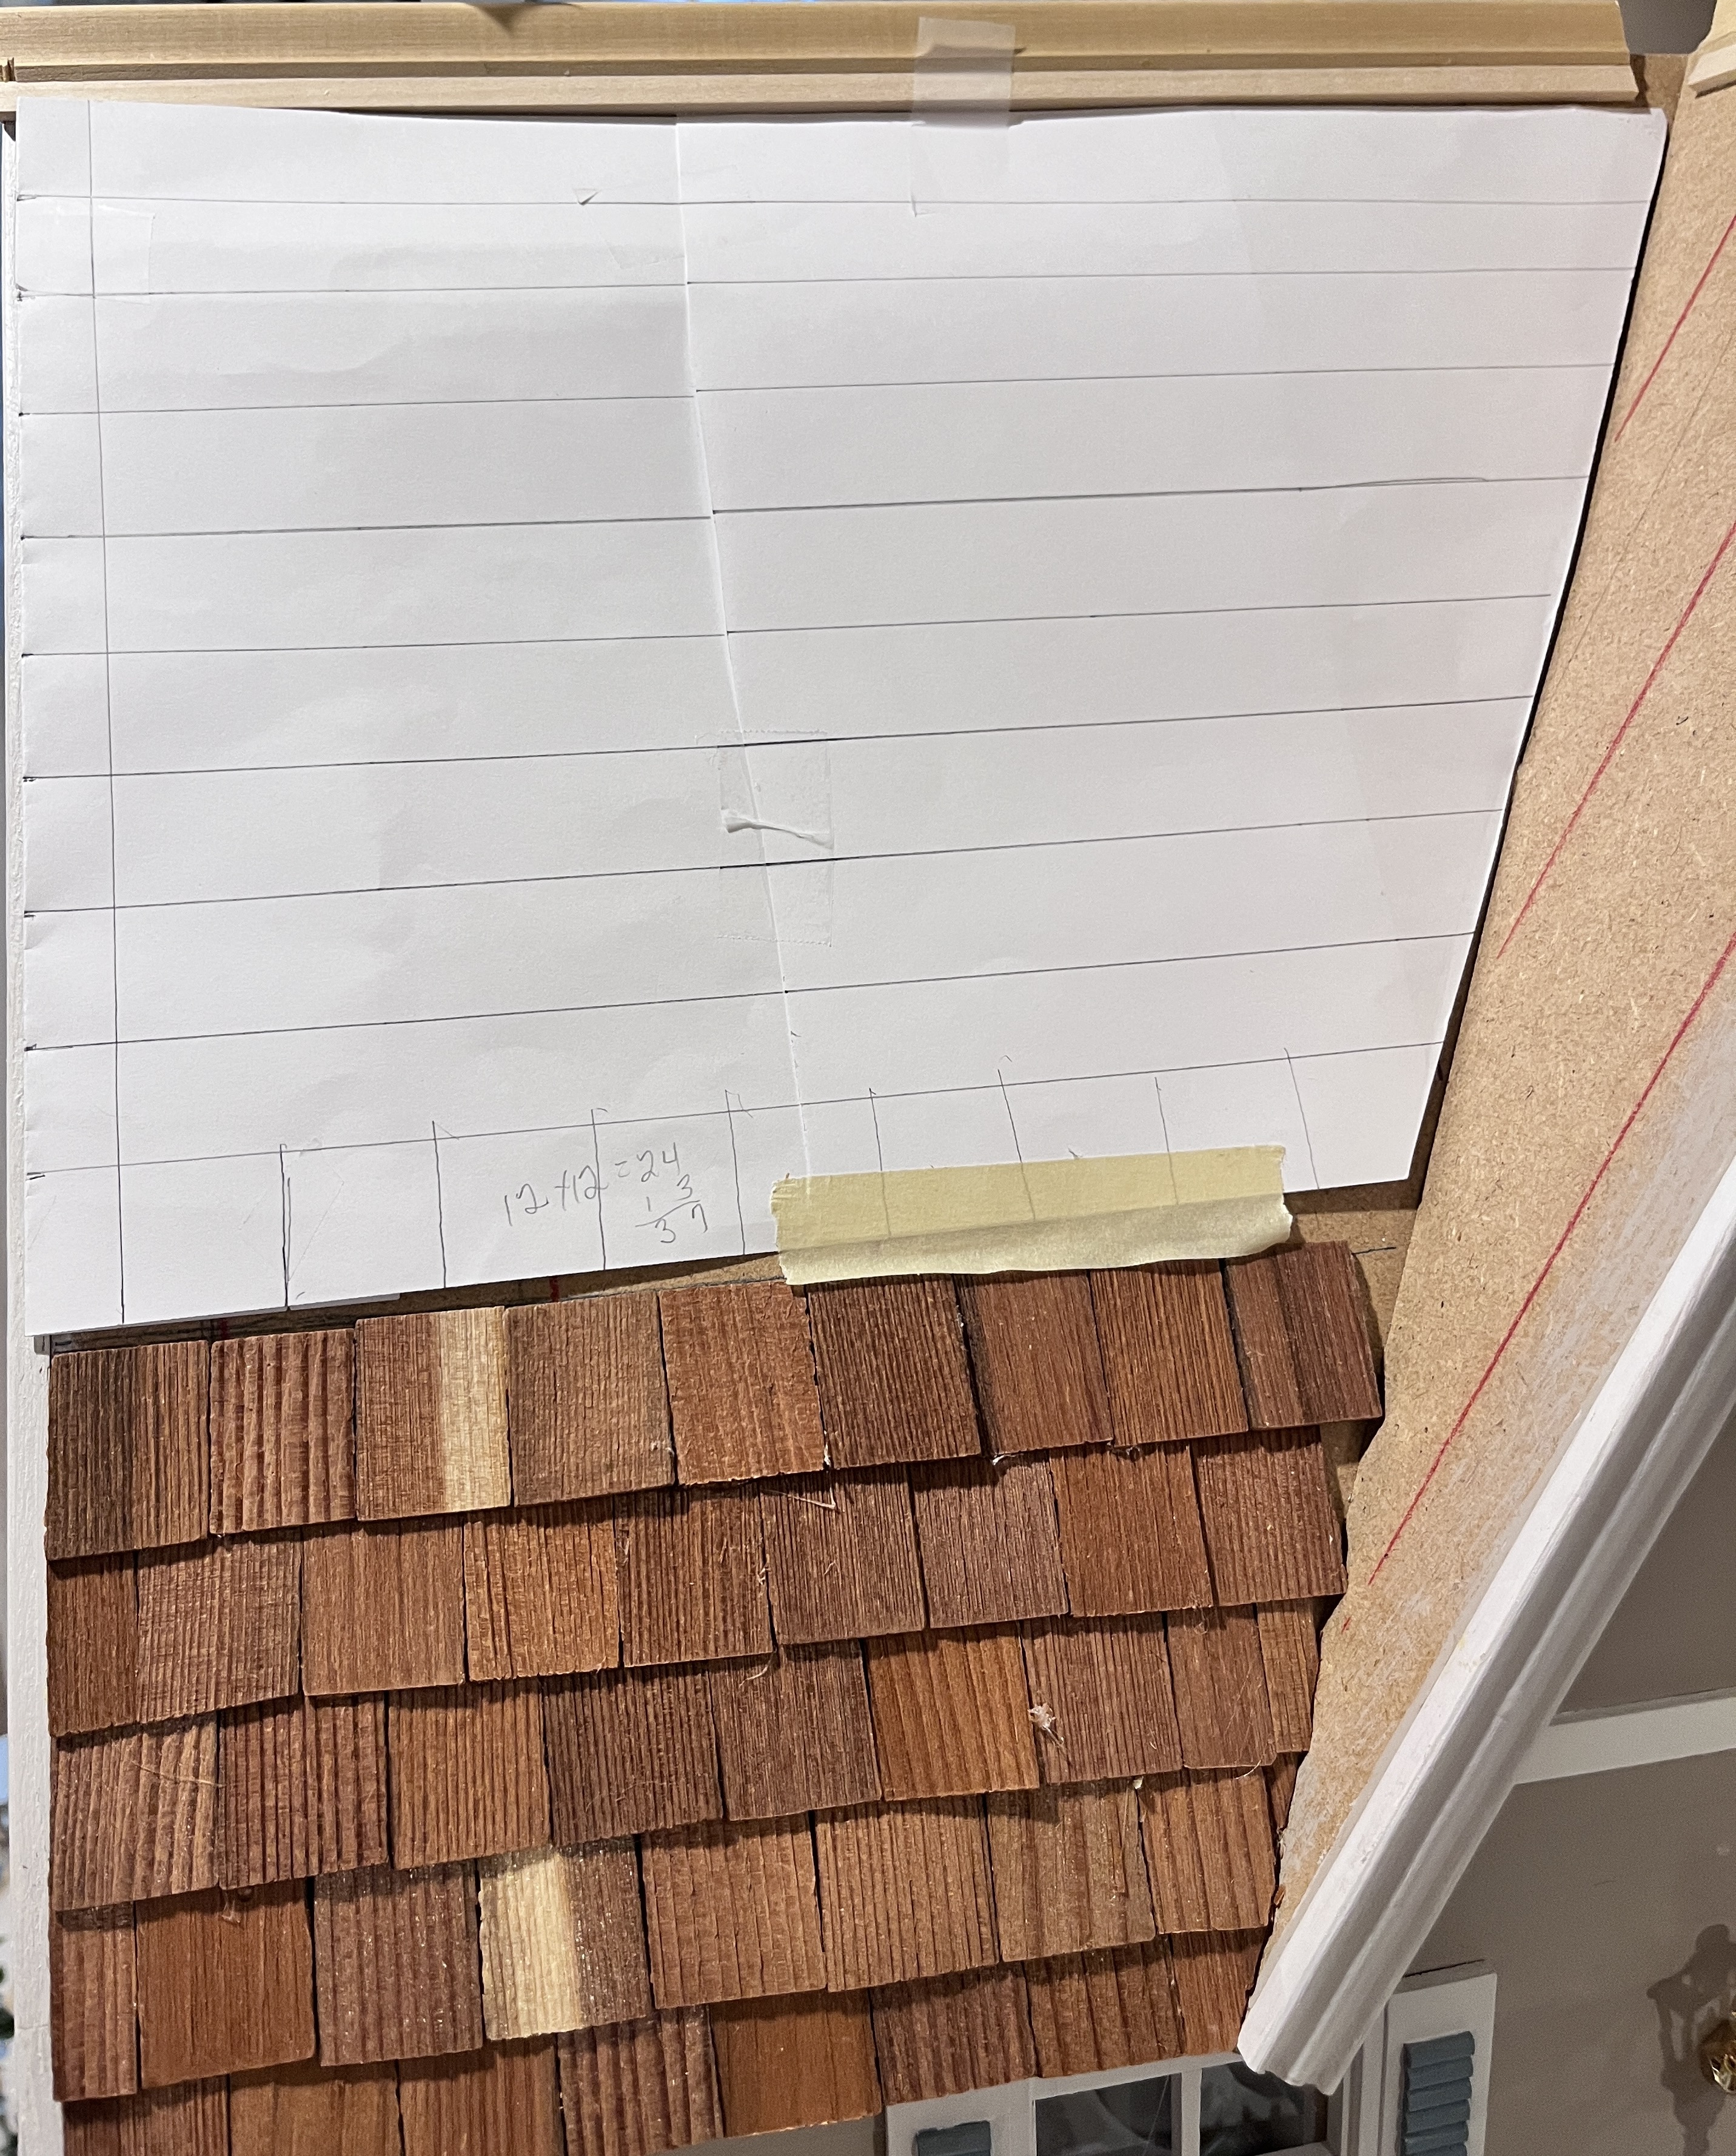
I began by marking my first 7/8" guide wide lines that should have been done before these roof pieces were assembled and then drawing a new line for each new row of shingles. Not very efficient. Please. Follow the instructions for your build. It's much easier to do the markings when pieces lay flat.
First I used tacky glue to adhere the first few shingles, but they wiggled and wobbled and wouldn't attach quickly , so I tried wood glue, no difference. I did a few then quit to let them set. But you can see the problem that I ran into: I missed the mark and went crooked--in part because I am short and don't have a good view of the guide lines from my vantage point.
I felt like it was so far off that I had to come up with plan B to correct the error. By now I had switched to hot glue to adhere the shingles so removing them was not an option.
I'm not a big fan of hot glue, but it sets quickly--sometimes too quickly--but holds the shingles firmly in place. Digging in my stash, I had ample Cricut brand 12x12 sheets of wood, perfect to use to make sub-roofing that I could add shingles to at my desk then glue the sub-roof in place. The I realized I had purchased the wood a long while ago because as I finally remembered, I had intended to glue the shingles onto a sub-roof from the beginning of the project! So here I am.
Lesson: Don't drag out your projects so long that you forget the plan! I started this one in 2021 and once the house was assembled, I focused on building all the furniture and cabinetry and completing it room by room. With the next house I will finish the exterior before doing the interior. Pinky Swear.
I make paper templates of walls to cut wallpaper, floors to get an accurate floor plan to make sure my lines are even and corners square and that the piece is the exact shape necessary. With its steep pitch and tight angles, the Manchester roof requires precision and that's why I gave up what seemed to be a simpler design, the faux metal roof. But it wasn't simple at all.
Next I transfer my pattern to the wood. This is very thin veneer that cuts easily with scissors or an X-acto knife, but it is actually meant for the Cricut Maker.
I am able to work out a design sitting down at my work bench that will help cover up the slightly crooked line. I have only a few of the decorative shingles, so I counted out exactly how many I would need for each roof elevation to make sure I didn't run out mid-stream. I'm good.
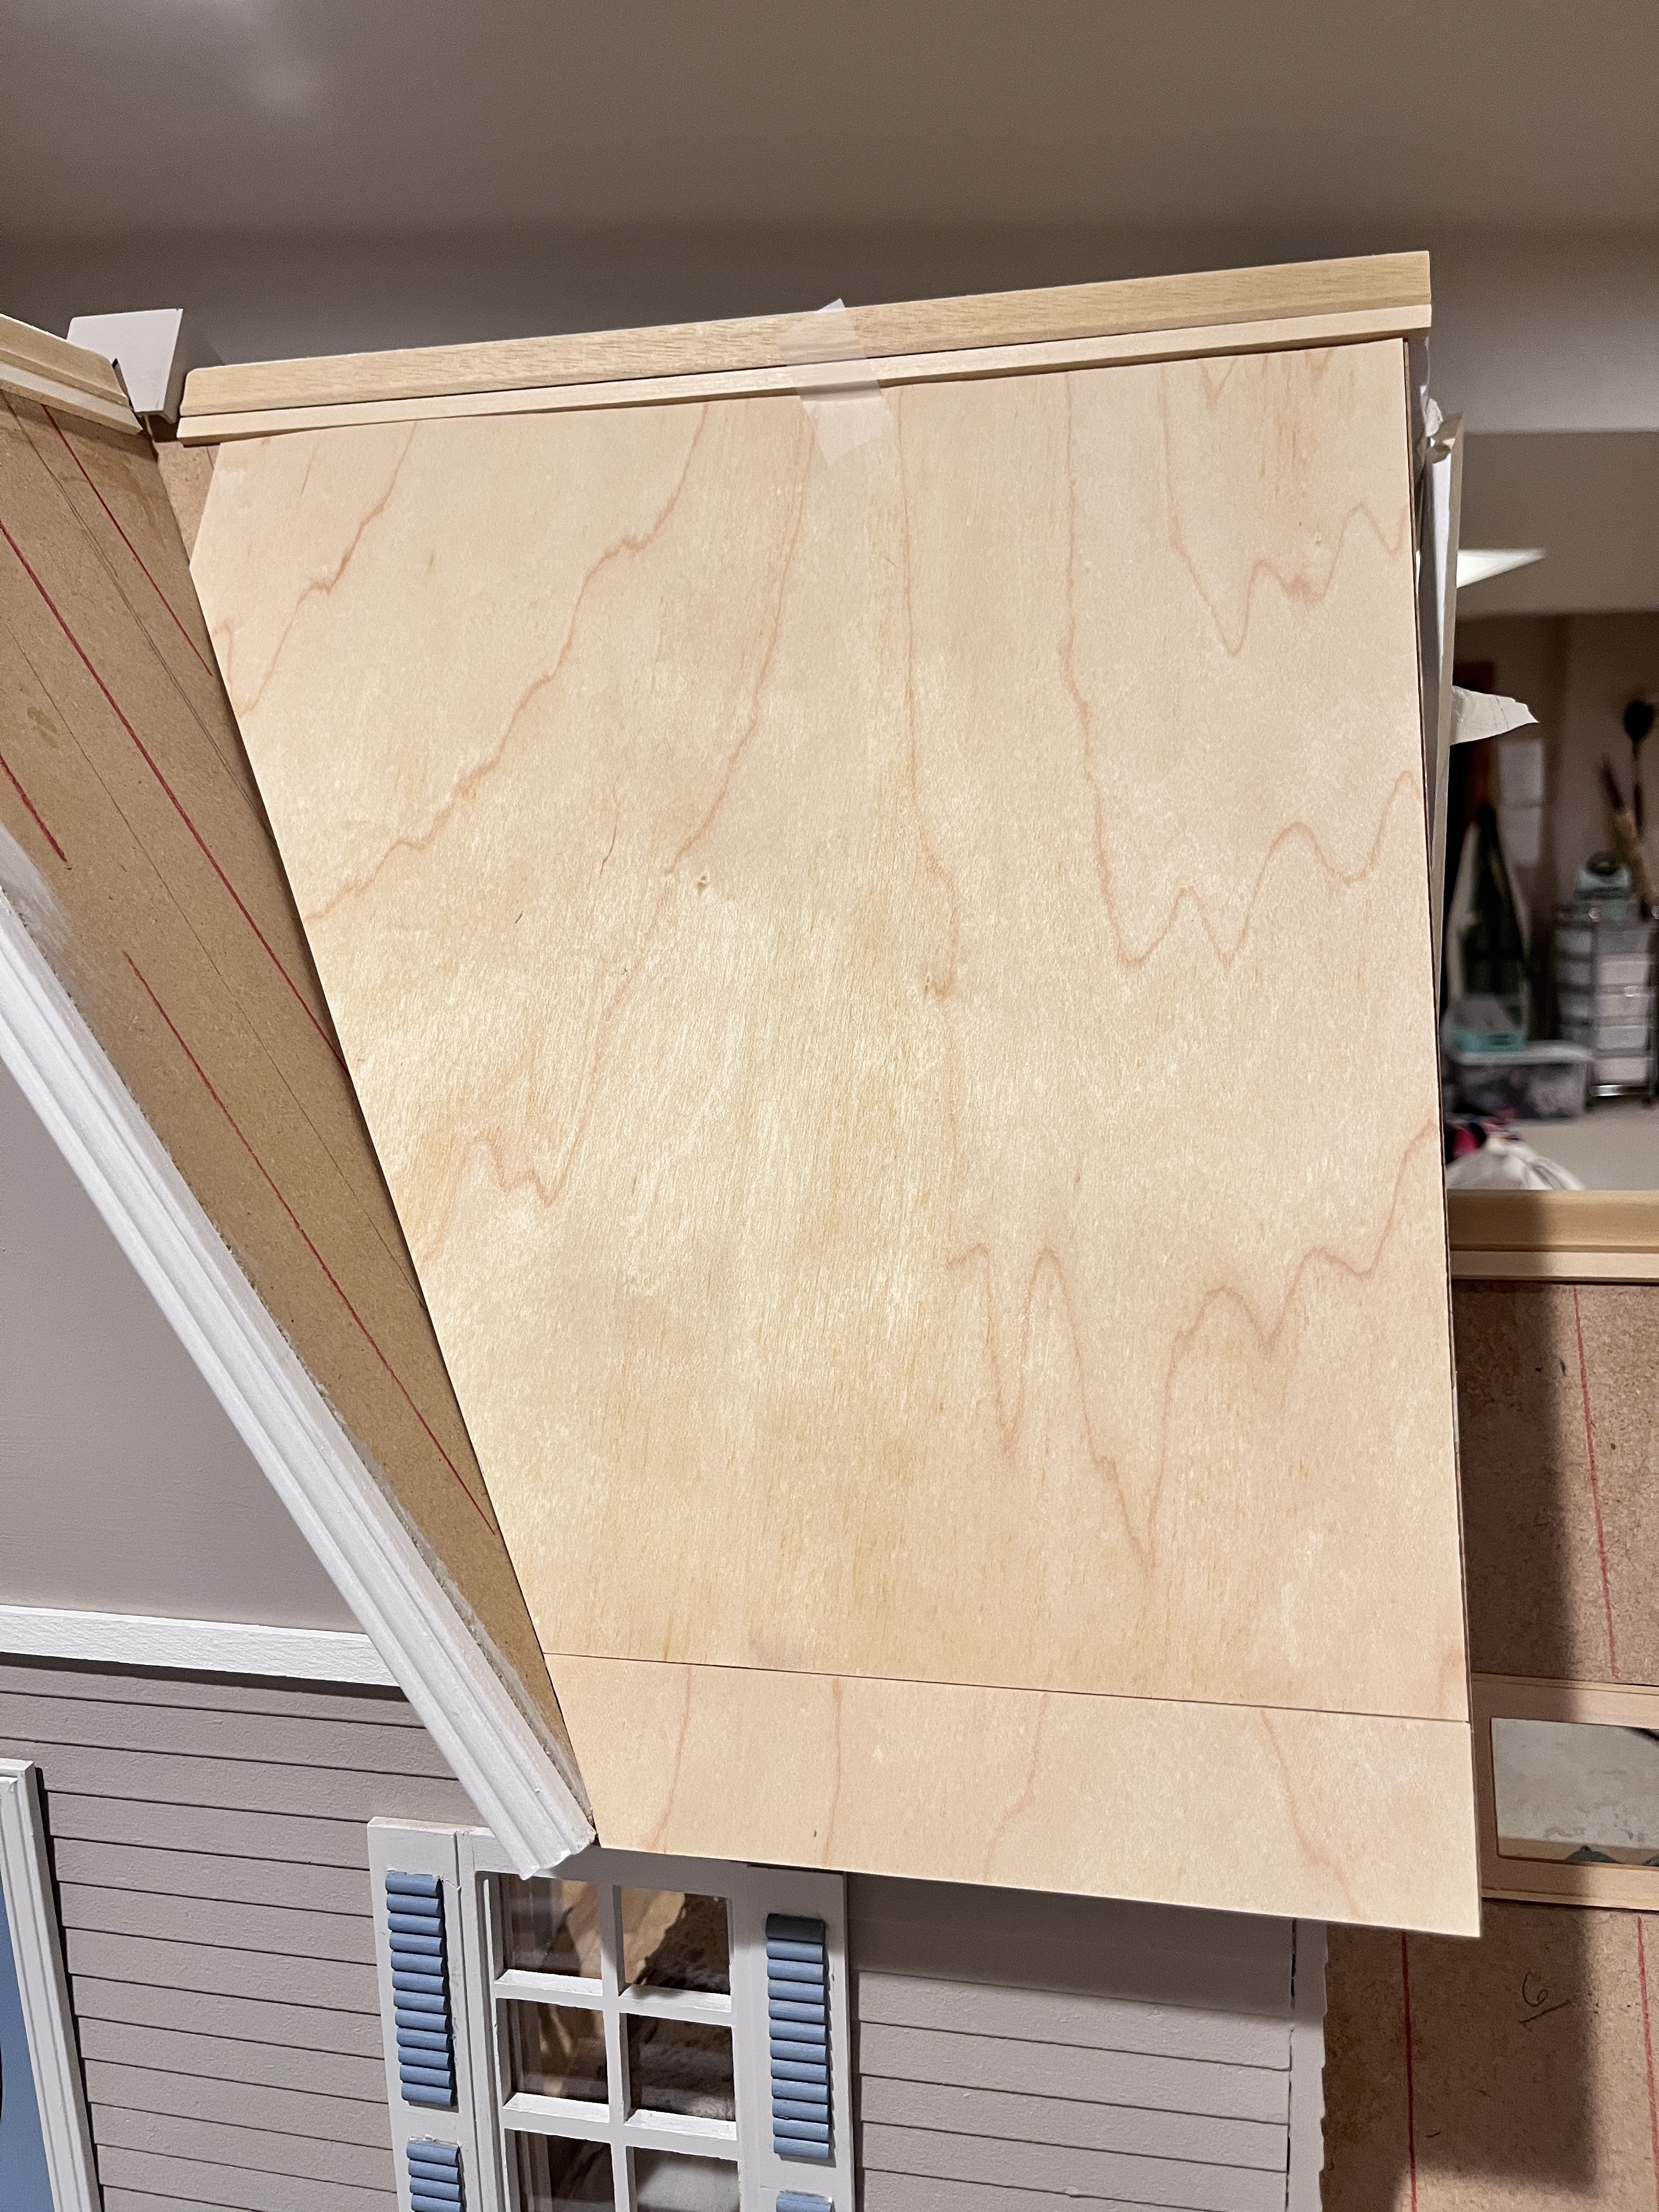
A dry fit of the the sub-roof
And I begin placing shingles.
Shift in cameral lighting here, but the sub-roof for the left elevation is done and I like the results.
Now I am able to trim the single excess away to get the correct angle that will butt up to the front peak--another reason for using a sub-roof. I had a lot of difficulty cutting the individual shingles at an angle because they split so easily when I glued the directly to the house.
Wa-La! I need to trim the left edge and I'll place the final row once the sub roof is permanently in place. I like it!
For the right side elevation, I had to make a new template before I could cut the sub-roof veneer.
Taping the ruler in place keeps it from sliding out of line.
Perfect. The sheets are 12 x 12 and the roof is sightly longer, so I had add a piece to extend the length. I just cut a scrap to size and used masking tape on the back to join the extension.
Soon I will need to decide how to finish the shingles: Medium stain, Pine; dark stain, Early American; or a gray paint or gray wash? (already eliminated that option.
All the sub-roofing pieces have been cut for all the elevations, except for the front of the addition. I'll cut it on the Cricut, but I need to purchase another pack of the light colored veneer.
The guide lines are marked for the main roof.
Hopefully I can get all the lines to match up when I glue the shingles in place on the peak pieces.
I turn my back and look who shows up! I don't know how she does it. I, for one, don't like heights.
In her tiny, squeaky voice, she seems to be approving the work.
Barefooted, through--that' my girl.
Always pink; always a bit mussy; always sassy, she's the boss.
But really, what would I do without her?
Because you won't find me on top of any house.
I think I Pink has given the final go-ahead on finishing the roof.
A busy week ahead so we will see how far I get with the shingling. I am still undecided about the stain color, In the meantime, I'll adhere the shingles to the sub-roof templates, trim the shingles along the edges for hopefully a well-aligned and seamless fit; otherwise, I will have to figure out a gutter system.
The Manchester won't be totally finished, but the roof will be done.
Thanks for joining me, today. Find me on Instagram: annsdollhousedreams.
Have a swell week.

.jpeg)


Pink is obviously completely fearless!
ReplyDeleteGood luck with the rest of the roofing, Ann! They can be so complicated and time consuming, and yet so satisfying a feeling when you complete the job! With your clever ingenuity, there is no complication you can't overcome!
ReplyDelete