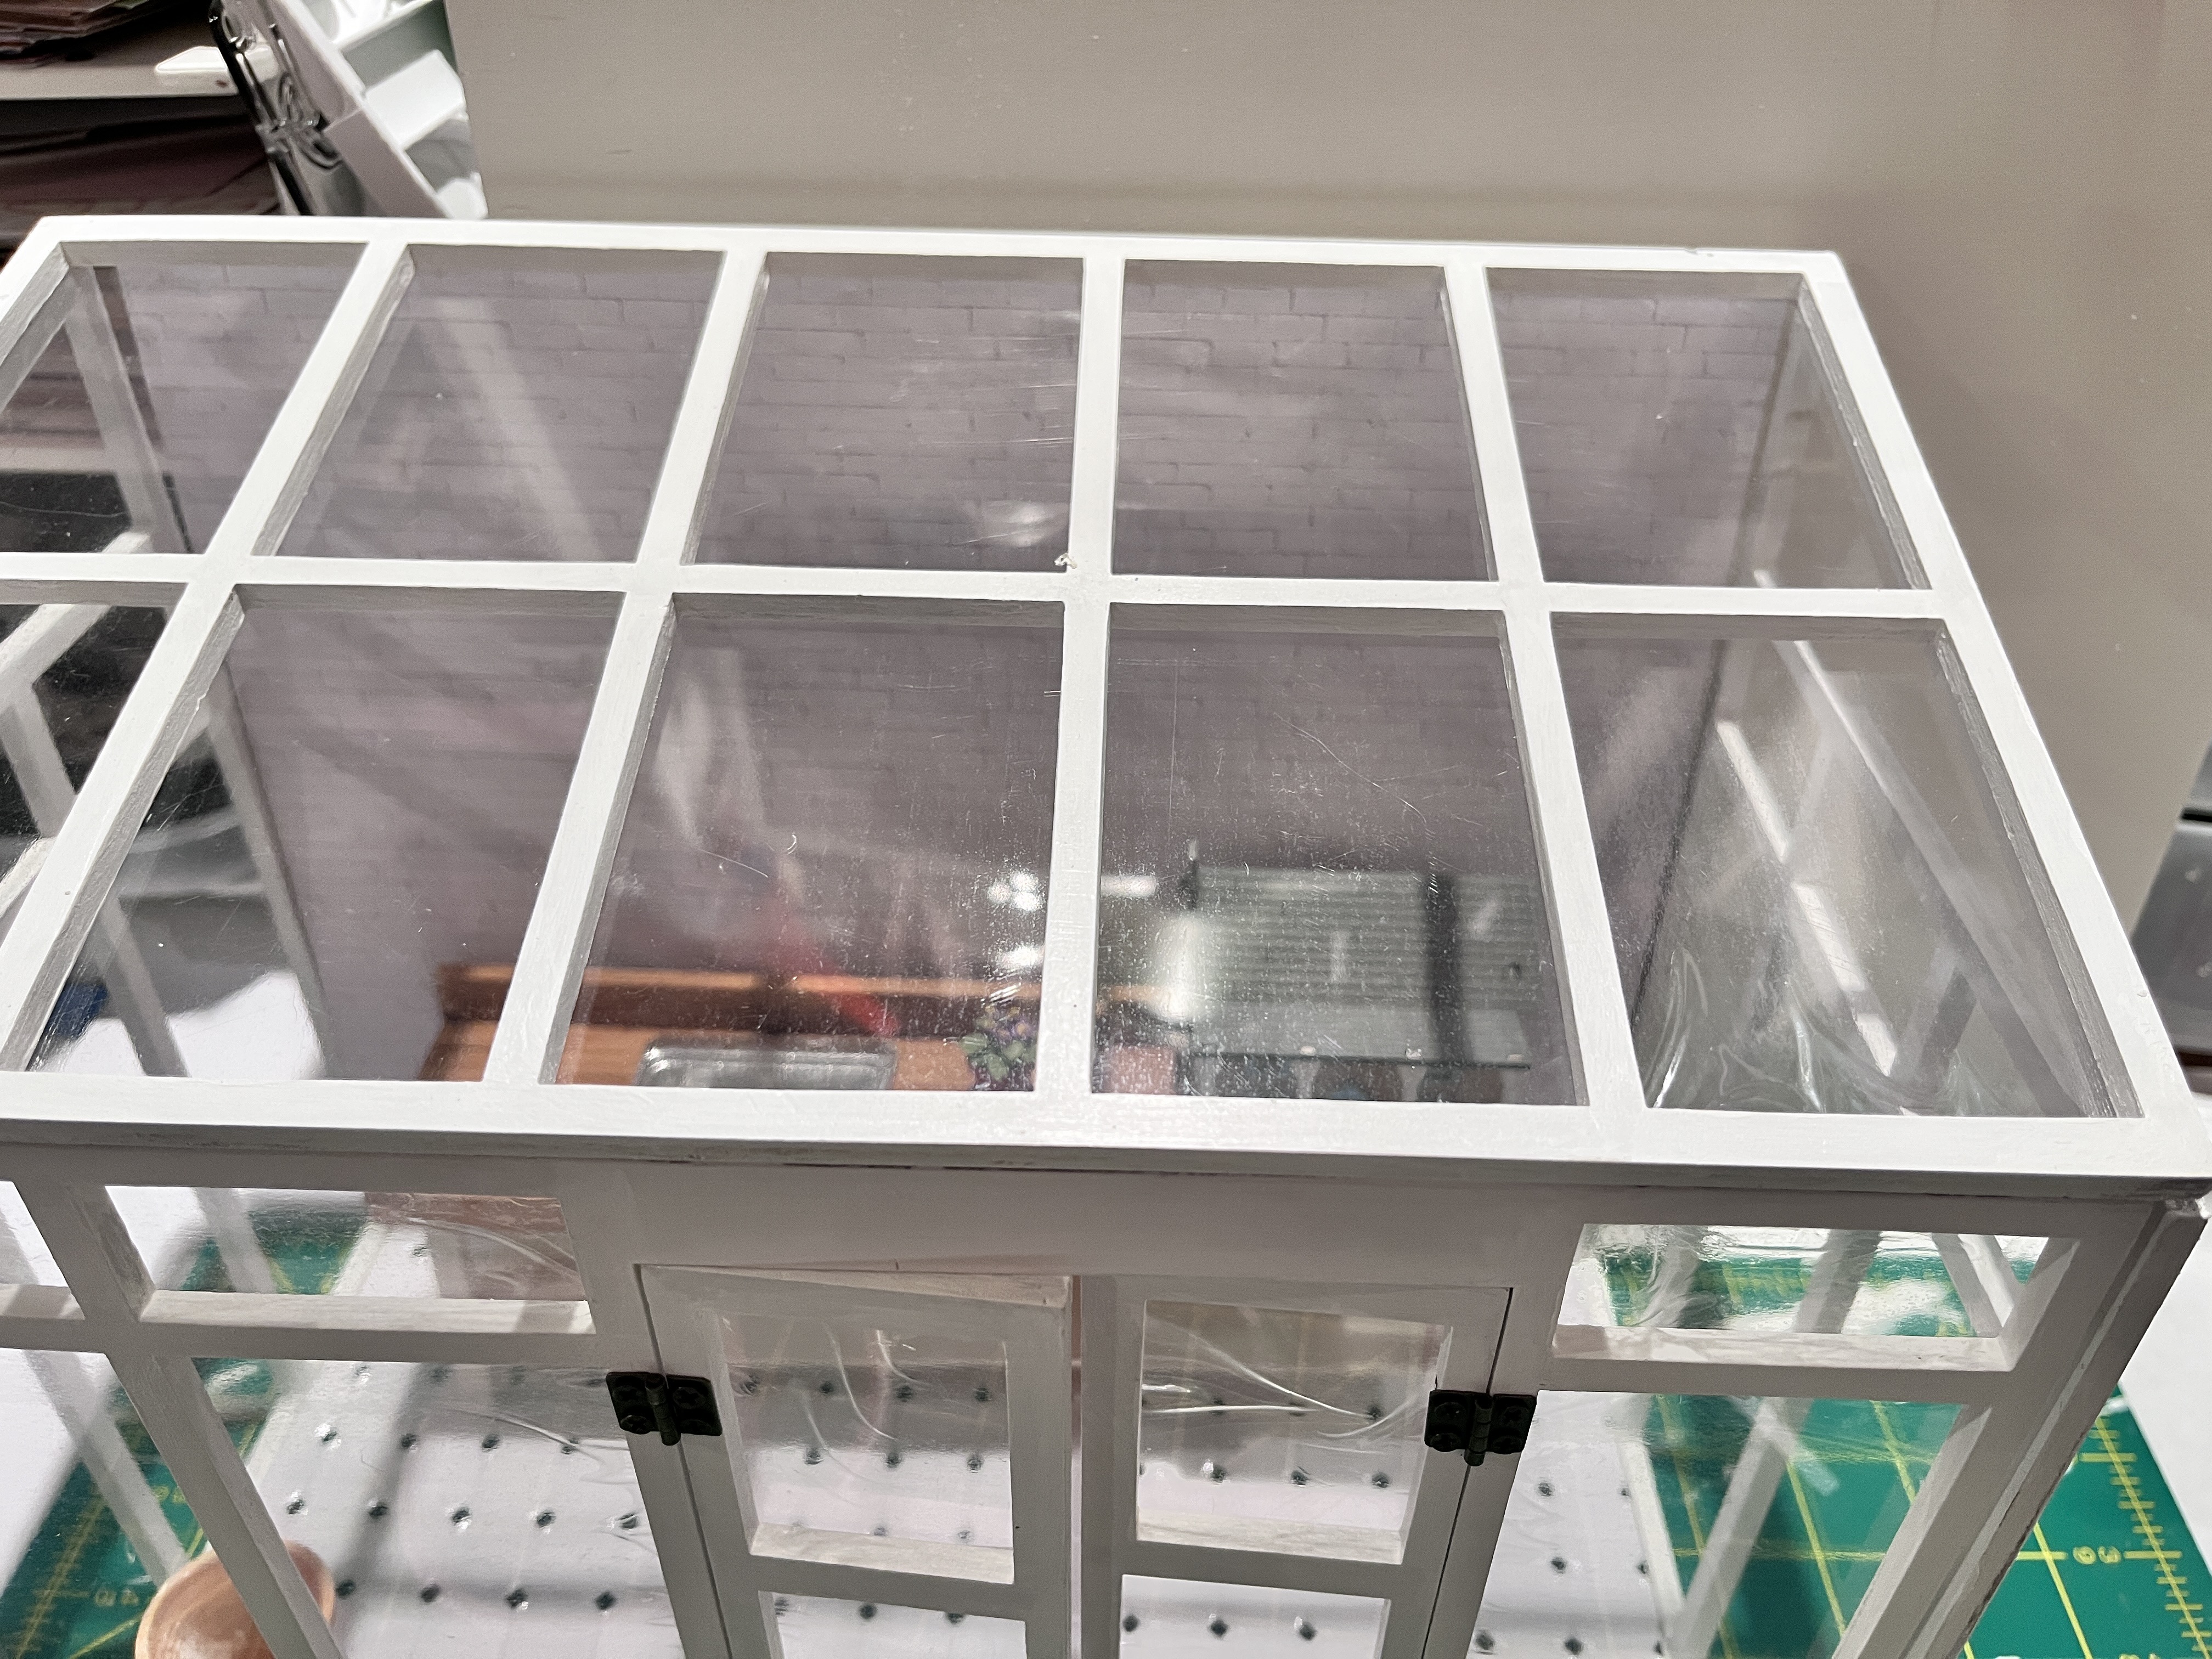
Side projects provide a bit of a respite from the major projects that take so much thought, energy and work. I chose this greenhouse project simply because I thought it would compliment the Manchester. The Texas Farmhouse has a chicken house and will eventually get a vegetable garden and maybe even a barn to keep a horse or two, but the Manchester will have a nice front yard garden, maybe a garage, but certainly a green house where the lady of the manner will propagate Adrian violets.
I've already introduced you to this project in the post "New Project" where I showed the pieces of the greenhouse kit and how to cut clean acrylic windows. Now the green house has been partially assembled and I'd like to share the progress. I ordered the kit from an Etsy Store, The Curated Farmhouse. To refresh your memory, here's the kit instructions and a dry fit.
With he acrylic windows cut (see previous post), I painted the pieces using regular latex interior/exterior house paint that I purchase in the sample size can. It's a smooth, creamy water based paint that covers nicely and cleans up with water. While the pieces required several coats, especially long the edges black with the laser cut residue, the paint covered the black after a bit of sanding to clean up the burned residue.
Next I had to install the hinges, which to me seem to be over-sized. I measured their locating and marked with a pencil.
While I have a cordless Dremel, I feared that I couldn't control it well enough to keep from drilling though the wood, so I used my hand drill to start the screw holes.
Because the screws are so small, I used my needle tweezers to hold them in place to screw them just tightly enough to hold the hinge in place.
Simple tools to complete the hinges installation:
I had in my stash, plastic black and white "tile" flooring that I decided to use. I considered a stone floor, a cement floor, a brick floor and decided that the tile would be more elegant. Of course I had to consider how easily maintained the floor would be and what would happen were water spilled it on, but really none of that real-life stuff matters in a mini project, but the pre-fab cut and glue plastic was an acceptable choice--except I didn't glue in place; instead I dug in my scrapbooking adhesives and decided to use a double sticky tape. I've been substitution different types of adhesive tapes as an alternative to mess glues, with some success. While sticky tape isn't for all projects, it is a good alternative for flooring if you think you might want to change flooring or access electric tape or wiring that lies beneath the floor. For this floor, tape is perfect.
.jpeg)
.jpeg)
Actually, nice as it looks, the floor isn't permanently installed yet and now I am reconsidering sponging a faux cement floor.
Do you change your mind mid-stream?
After the hinges were installed, completing the front wall and fitting the flooring, it's now time to adhere the acrylic windows and what a challenge I thought that would be. I have my favorite glues to use:
- Gorilla Wood Glue for secure, sturdy joints used on wood
- Aleene's Tacky white glue that I use on wood and most everything
- A good fabric glue for upholstery and other fabric project
- Very small tubes jewelry adhesive used for glass and metal beading for adhering the acrylic to wood for glass fronted cabinets and doors. I read somewhere that other glues will cloud the clear plastics; so far I've not that problems, but it is messy and hard to clean up if you get it on the clear acrylic.
So, again from my scrapbooking supplies, I pulled out this very narrow and very sticky clear tape adhesive which was so perfect for adhering the acrylic glass to the window walls for the green house. Regretfully, I don't have the package to show you; I found it at Hobby Lobby. Once the tape in in place, the red protective layer can be removed for reveal in nearly invisible sticky bond.
OOOPS. The is always an oops, isn't there. I leave the protective film in place on the acrylic on the outside until the acrylic window is in place because it scratches and smears so badly. Weeeelllll. I placed the wrong side down--the side with the proactive film. No problem. The acrylic easily separated from the film that was now stuck to the tape. It also removed easily and I had to replace only one small area where the film stuck to the tape and I couldn't get it removed. No mess, easy to install, and if the windows have to removed, easily done.
Of course, I couldn't resist putting some things in place just to see how everything would fit. The back wall is papered with a scrapbooking paper with a painted brick design.
What a fun project. The wall still needs to be glued in place as well as the front wall, but I'm going to leave the roof panel free, as one builded suggested for easier access to the interior.
Now I have to fill the green house with greens. I already have the violets made--see that project here: (way at the bottom of the post:
Tutorial on how to create mini African Violets using both a kit and from scratch.
A Victorian conservatory will have lots of ferns, and so will my green house version. I ordered Boston ferns and a palm fern from
SDK Miniatures. I love these plant kits. Each kit came with multiple leafs, enough for more than one plant, depending on how full you want your plants. But first the leaves must be painted.
My best advice for making up such kits that don't come with instructions is to study how the plants grow naturally by examining your own house plants, go to a nursery to study plants, or look them up online to see what their natural color is and how they grow.
Getting the correct paint really is the hard part. I used craft acrylic paint, trying to. match a color without much mixing. Some artists will be better at painting than other--I'm really not an artist, I just do what I think works--I like to tell my reader that if I can do it so can you.
So I put out a dab of paint and a bit of water to help thin the paint simply be wetting the the paint brush before dipping into the paint.
While the leaves seem really delicate, the paper from which they are laser cut is actually very strong; still you have to paint gently and not get the leaves too saturated with paint or water. Another way to thin the paint you can wet the leaf with a wet brush before adding paint.
Once the leaves are painted on side, I hang them to dry on a desk lamp. With the light turned on, the heat will help them dry more quickly, but I let mine dry over night. I can see where I missed spots, but I can do touch up when I paint the backs of the leaves.
Study the leaves of the plant that you are creating. Sometimes the top surface is slick and shiny and darker than the back. I'll paint the backs of the leaves in the next step.
I really struggled with the palm leaves, trying to get a deep, shiny shamrock sort of green, but even after trying blending paints to get better color, I just went with the sage green with some yellowing to distinguish aging leaves.
Use the smallest paper covered floral wire that you find--I found this 32mm at Hobby Lobby. Place it on the back of the back of the leaf, using the tacky glue.
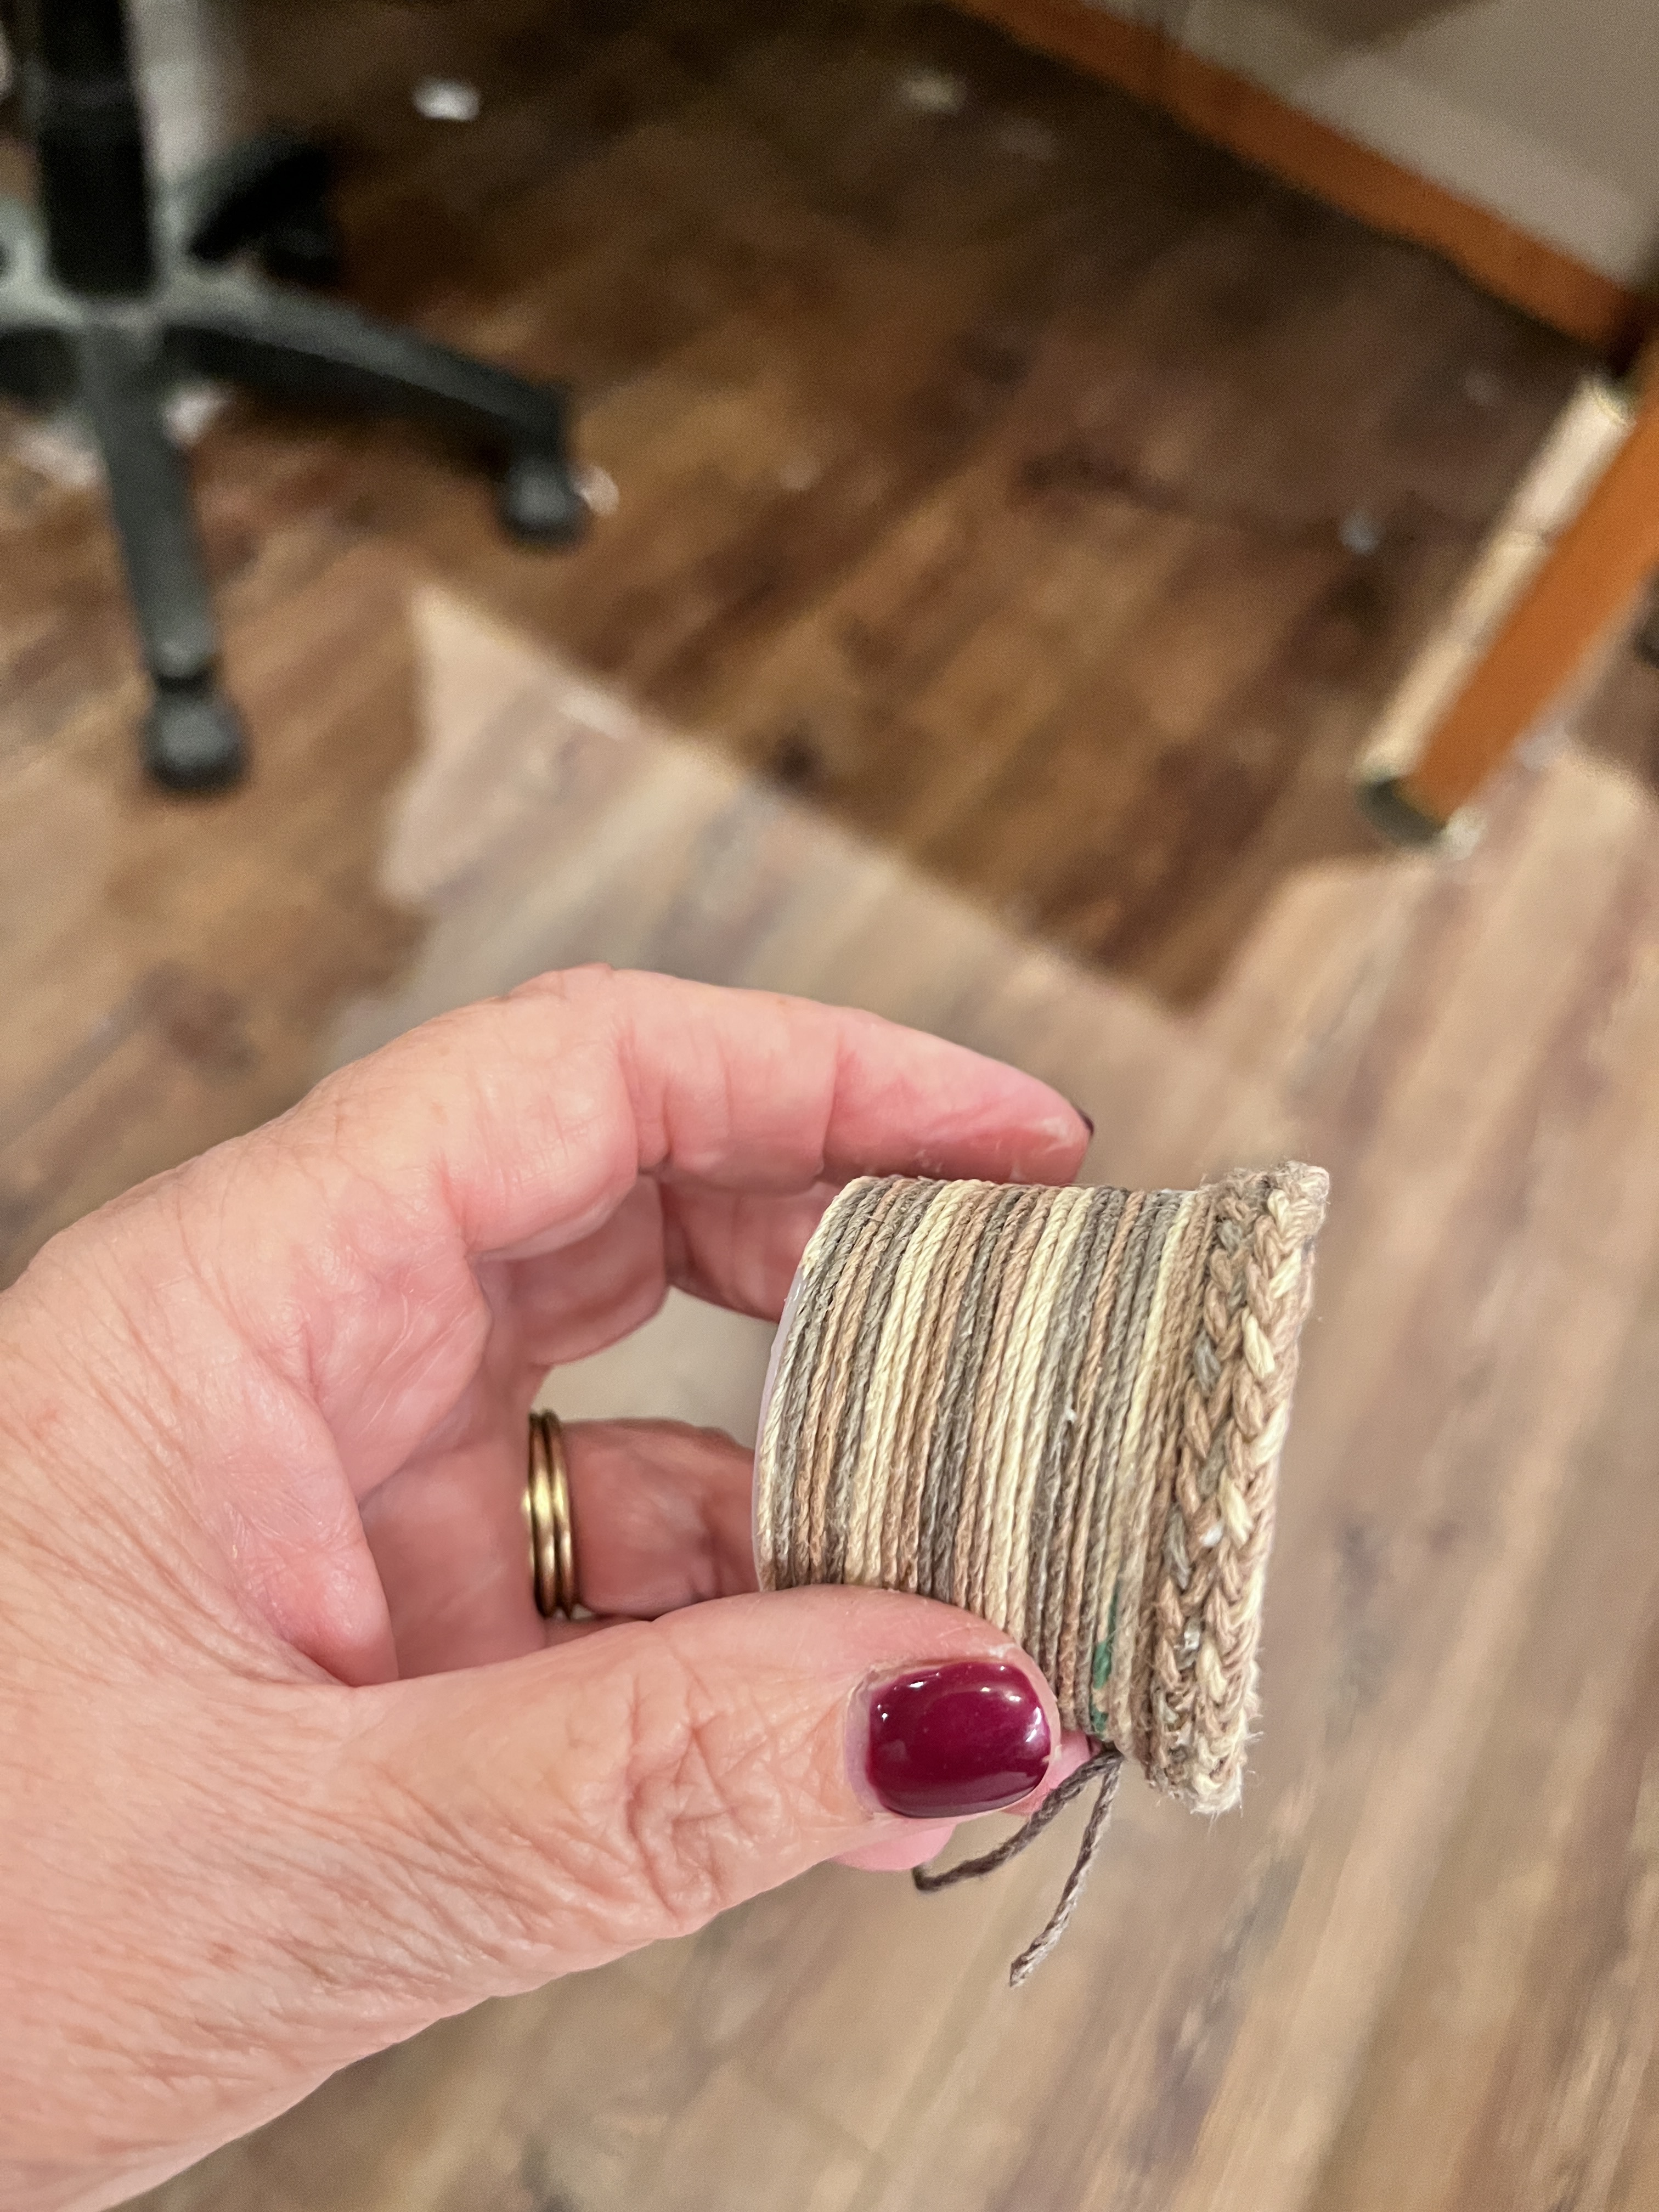
With the leaves painted and dried, they were ready for a pot--a large pot. I didn't want a "clay" pot, for we generally see these palms in trendy baskets or even ceramic pots. I decided to create my own basket. I needed a container on which I simply wrap with jewelry cording from my stash. First I researched the size of pots a large fern might be in--a 10-24 inch pot. A K-cup measure 1.74 inches , which puts it in range, but when I put it in the green house, it's too large. Then I found the Pepsi-bismal cup, a smaller cup that would be perfect.
One more try at blending paint. All I accomplished was a dullish green that was worse than what I started with.
UGH!
Nope. ICK.
Instead, I touched up the plan leaves with the olive green. Pictures showed some yellowing leaves that were either new leaves or older ones--probably newer ones since they were smaller. Plant leaves will vary in color depending on the health of the plant and its growths pattern as leaves sprout, mature, age, and dye away, so I used lighter greens and even a few dabs of yellow.
While the newly painted leaves dried I began to make the basket planter by applying tacky glue to the cup and wrapping it with with the cording. I braided the edging for top edge of the cup, measuring the circumference 3 times to get enough cord for the braid and lucky for me that guess was the perfect length.
Once the glue set, I snipped off the raw ends, tucked them together and added a dab more glue to hold them in place to keep them from unraveling.
What a nice plant pot.
I get busy making a project and forget to photograph each step, so follow along: I used air dry or paper clay to fill the pot. The stems will penetrate it easily and when the clay sets the stems will be secure. I skipped my tea grounds soil top dressing; instead, I used some tacky clue on top of the clay and added a bit of moss to cover the white clay.
You find a pack like this with a variety of mosses at most craft stores.
then added the leaves to create a palm plant. At this stage you want the underneath of the leave to face out from the pot and you will slightly shape each leaf to make look as natural as possible by slightly bending the wired stem. You will make adjustments in placement and maybe even some touch-up to make the plant look as real and natural as possible.
And here it is:
It really is large, full plant, maybe even too big for this space, but I do have some leaves left so I can create a smaller plant and since the leaves are not glued in place in this pot, I may re-do it for a smaller plant--but not too bad for the first time.
Pink is feeling bit short next the tall palm that might end up on the balcony. I think she like it. We had a go-round over the roof, so I sort of felt like I needed a little peace offering.
The fern worked up nicely, too. My intent was to hang two from the ceiling but I have to drill holes in the acrylic and into the wood--not sure I want to do that either, but the fern looks realistic.
Some may feel pretty intimidated when trying to make plants. For beginners, I certainly recommend purchasing kits. While they may be a bit pricy, so is the investment in papers, punches, and other supplies to create your own plants, so while these kits weren't exactly cheap, they are a nice quality and will lend I think very good results. Look for other tutorials and suppliers for plant material to learn more about plant making.
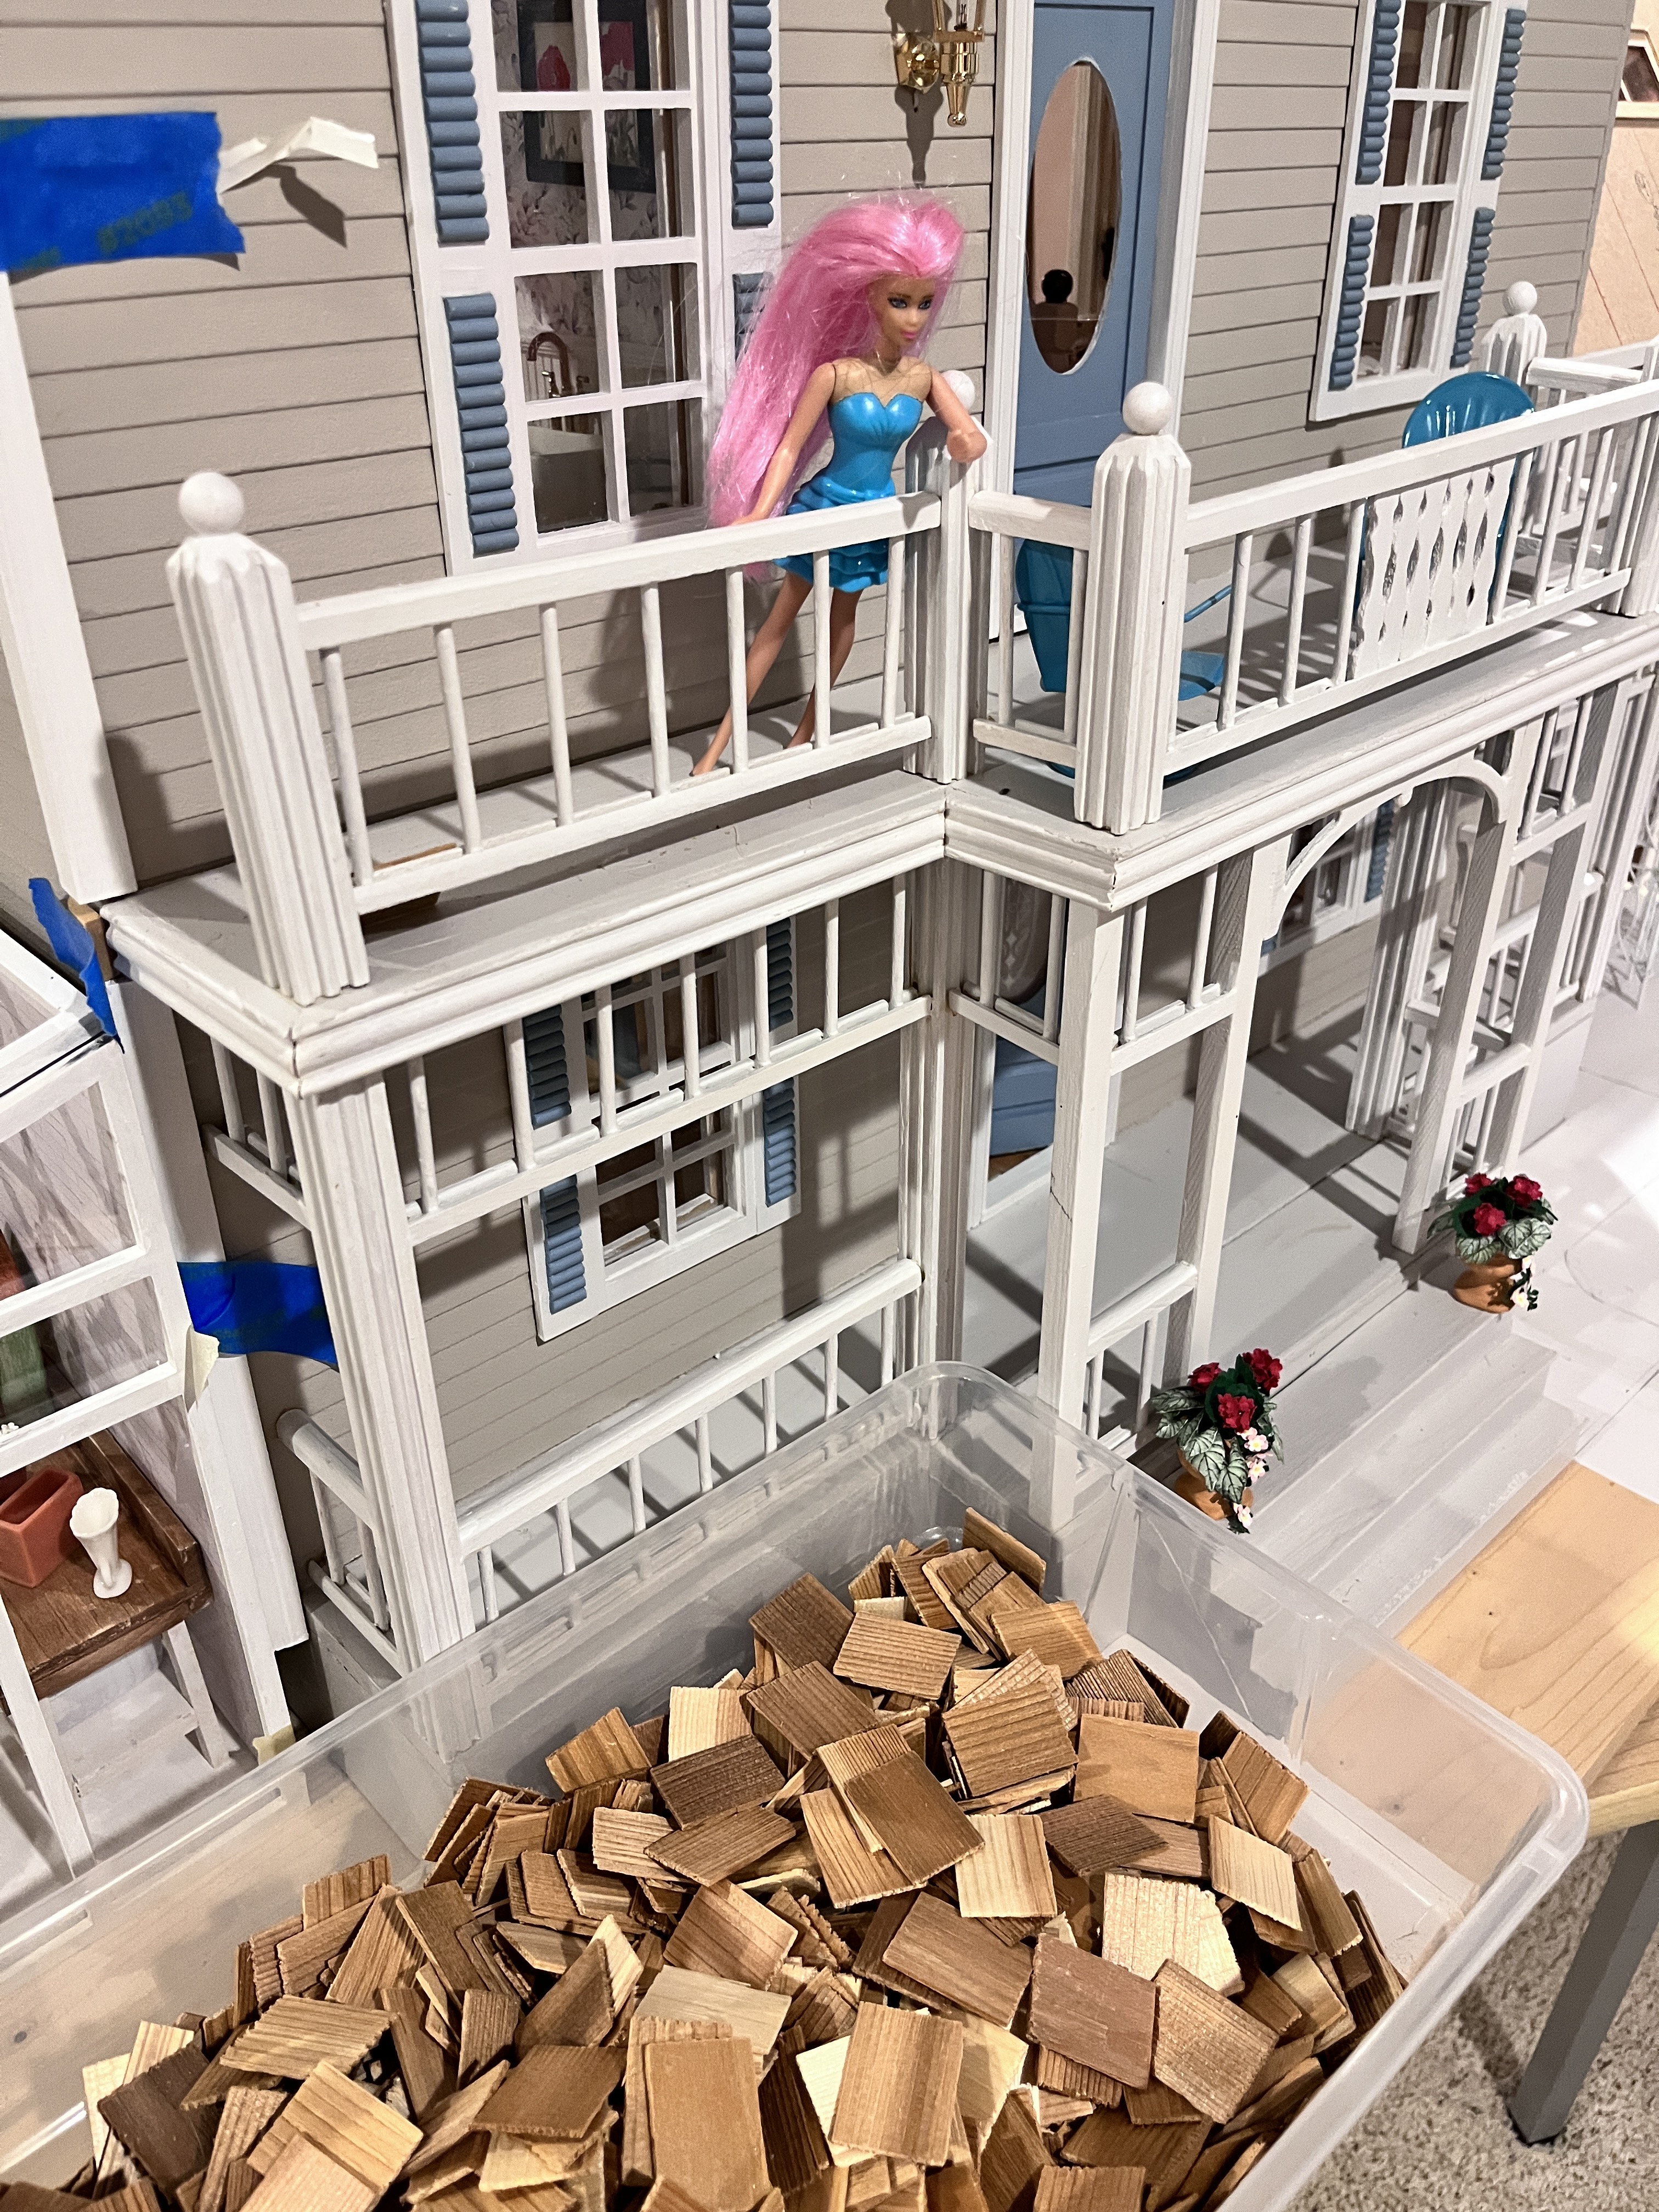
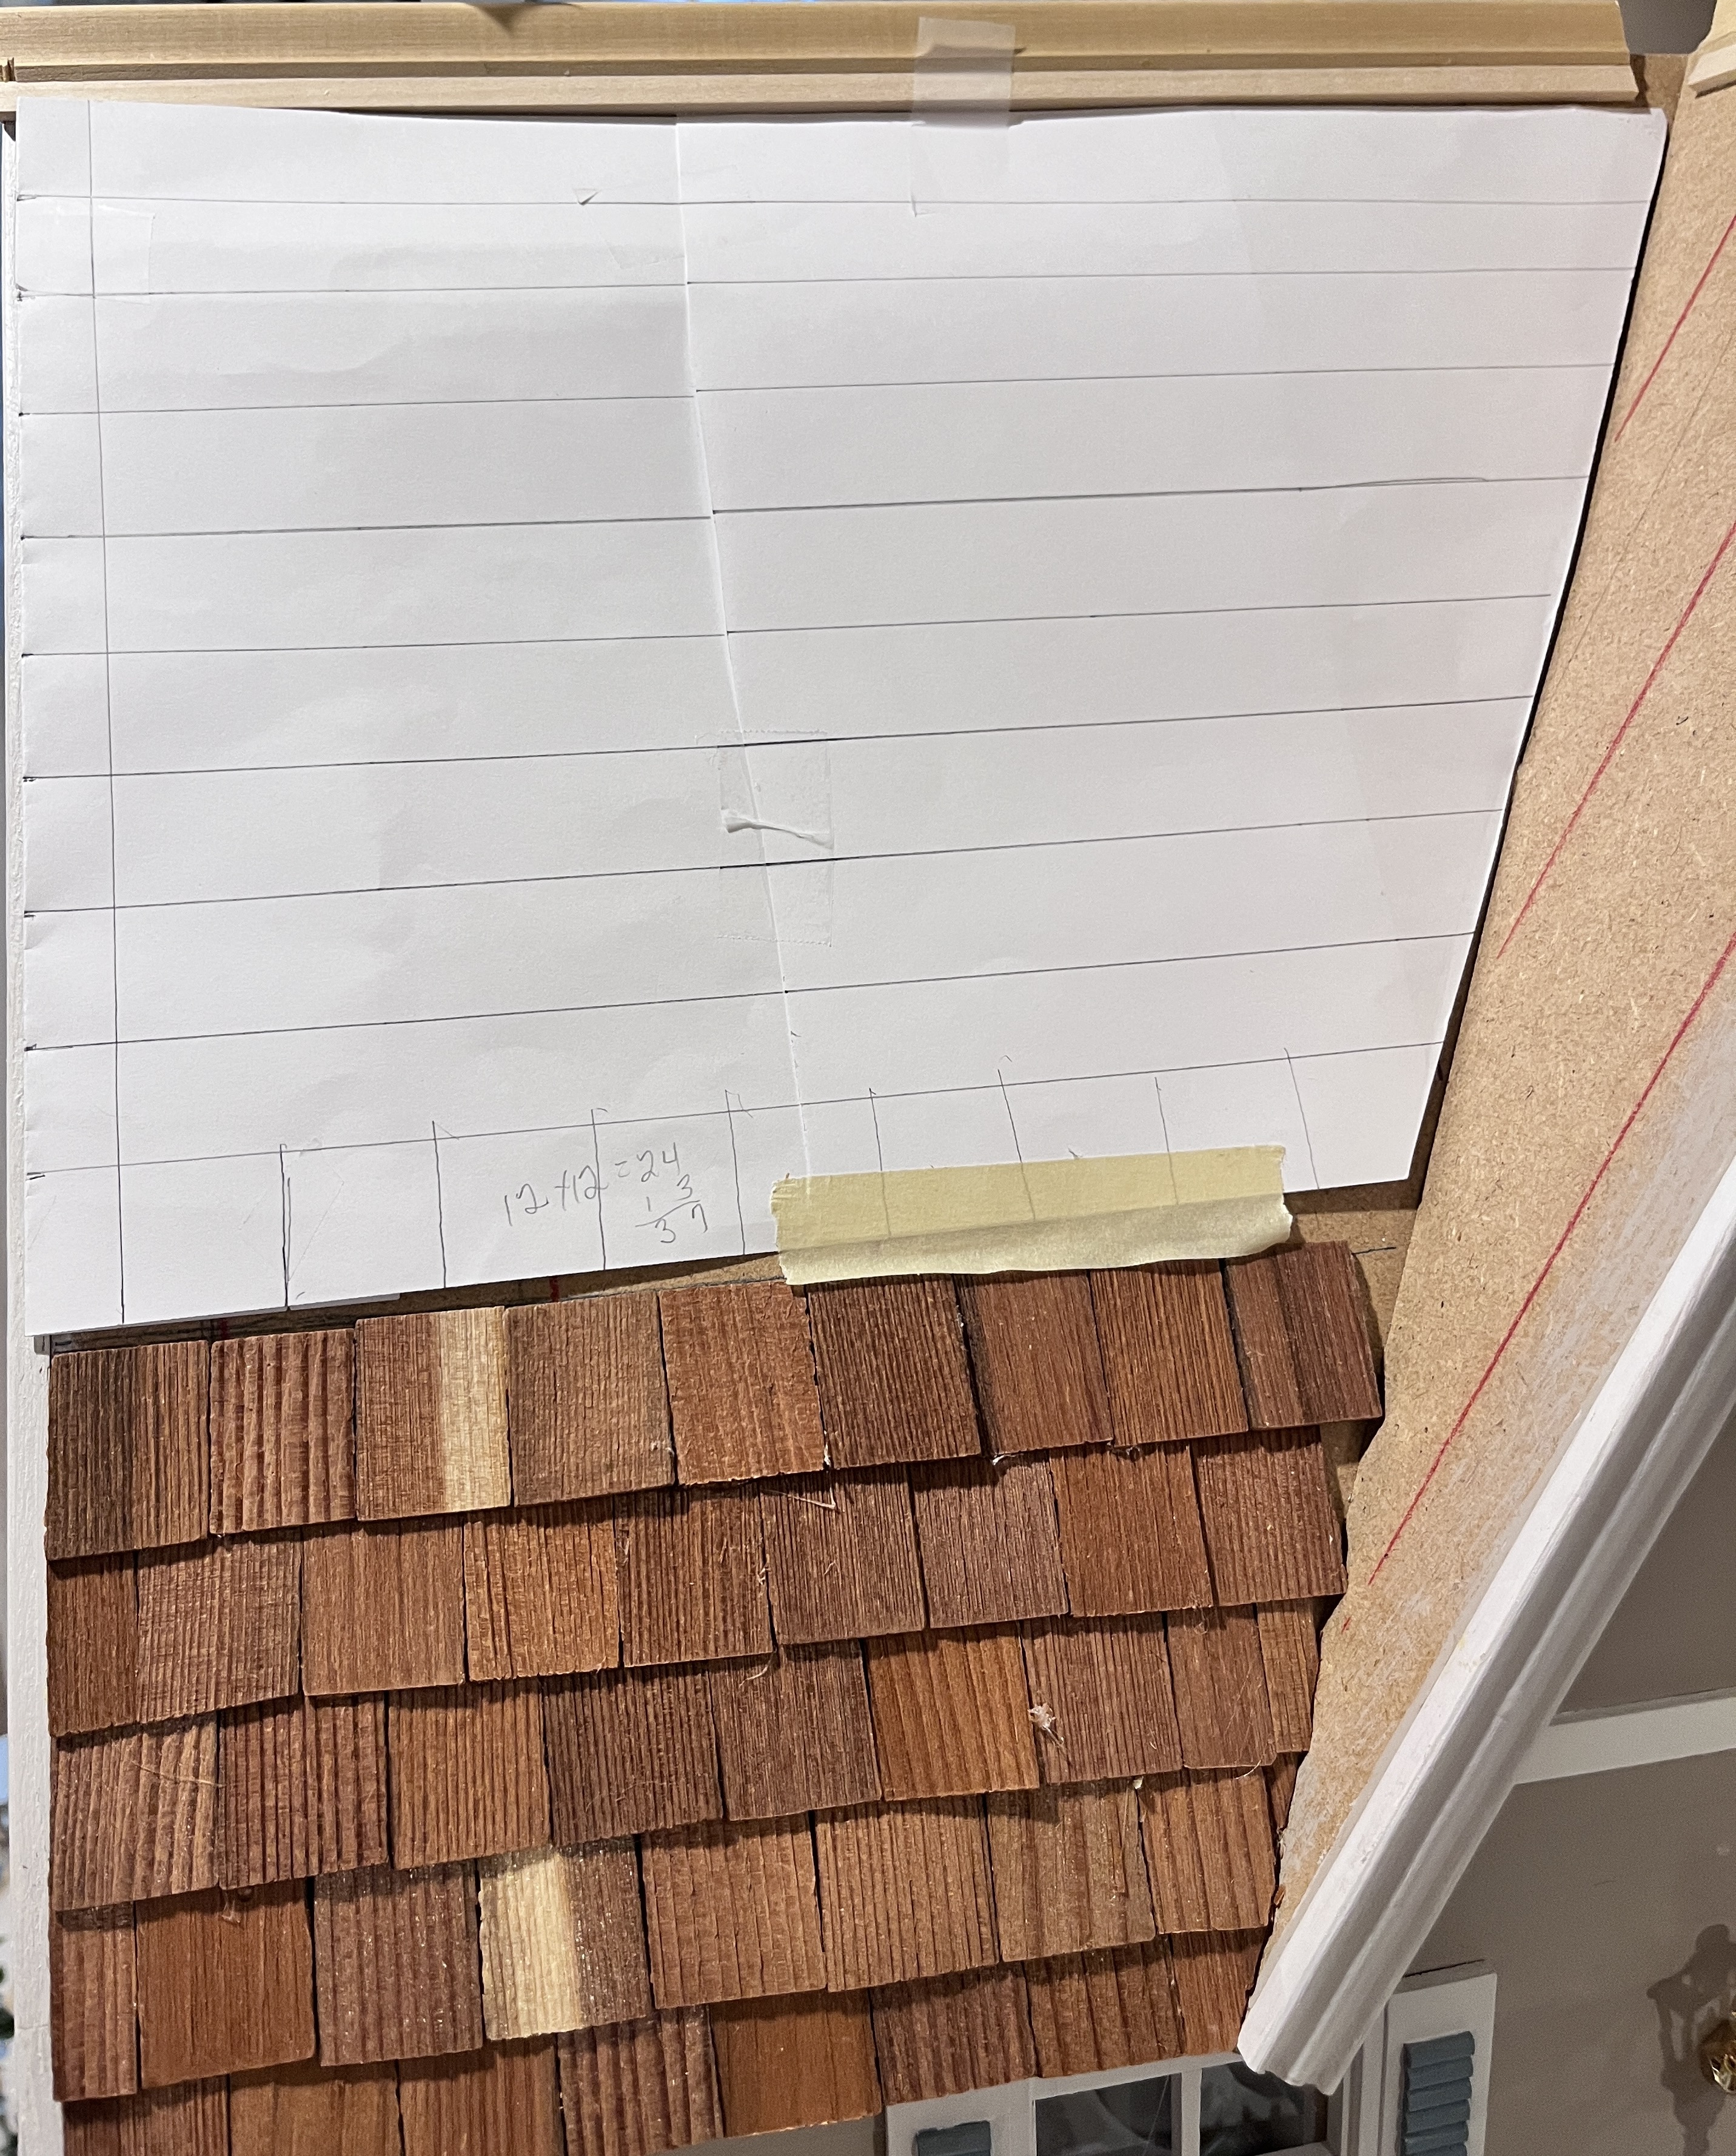
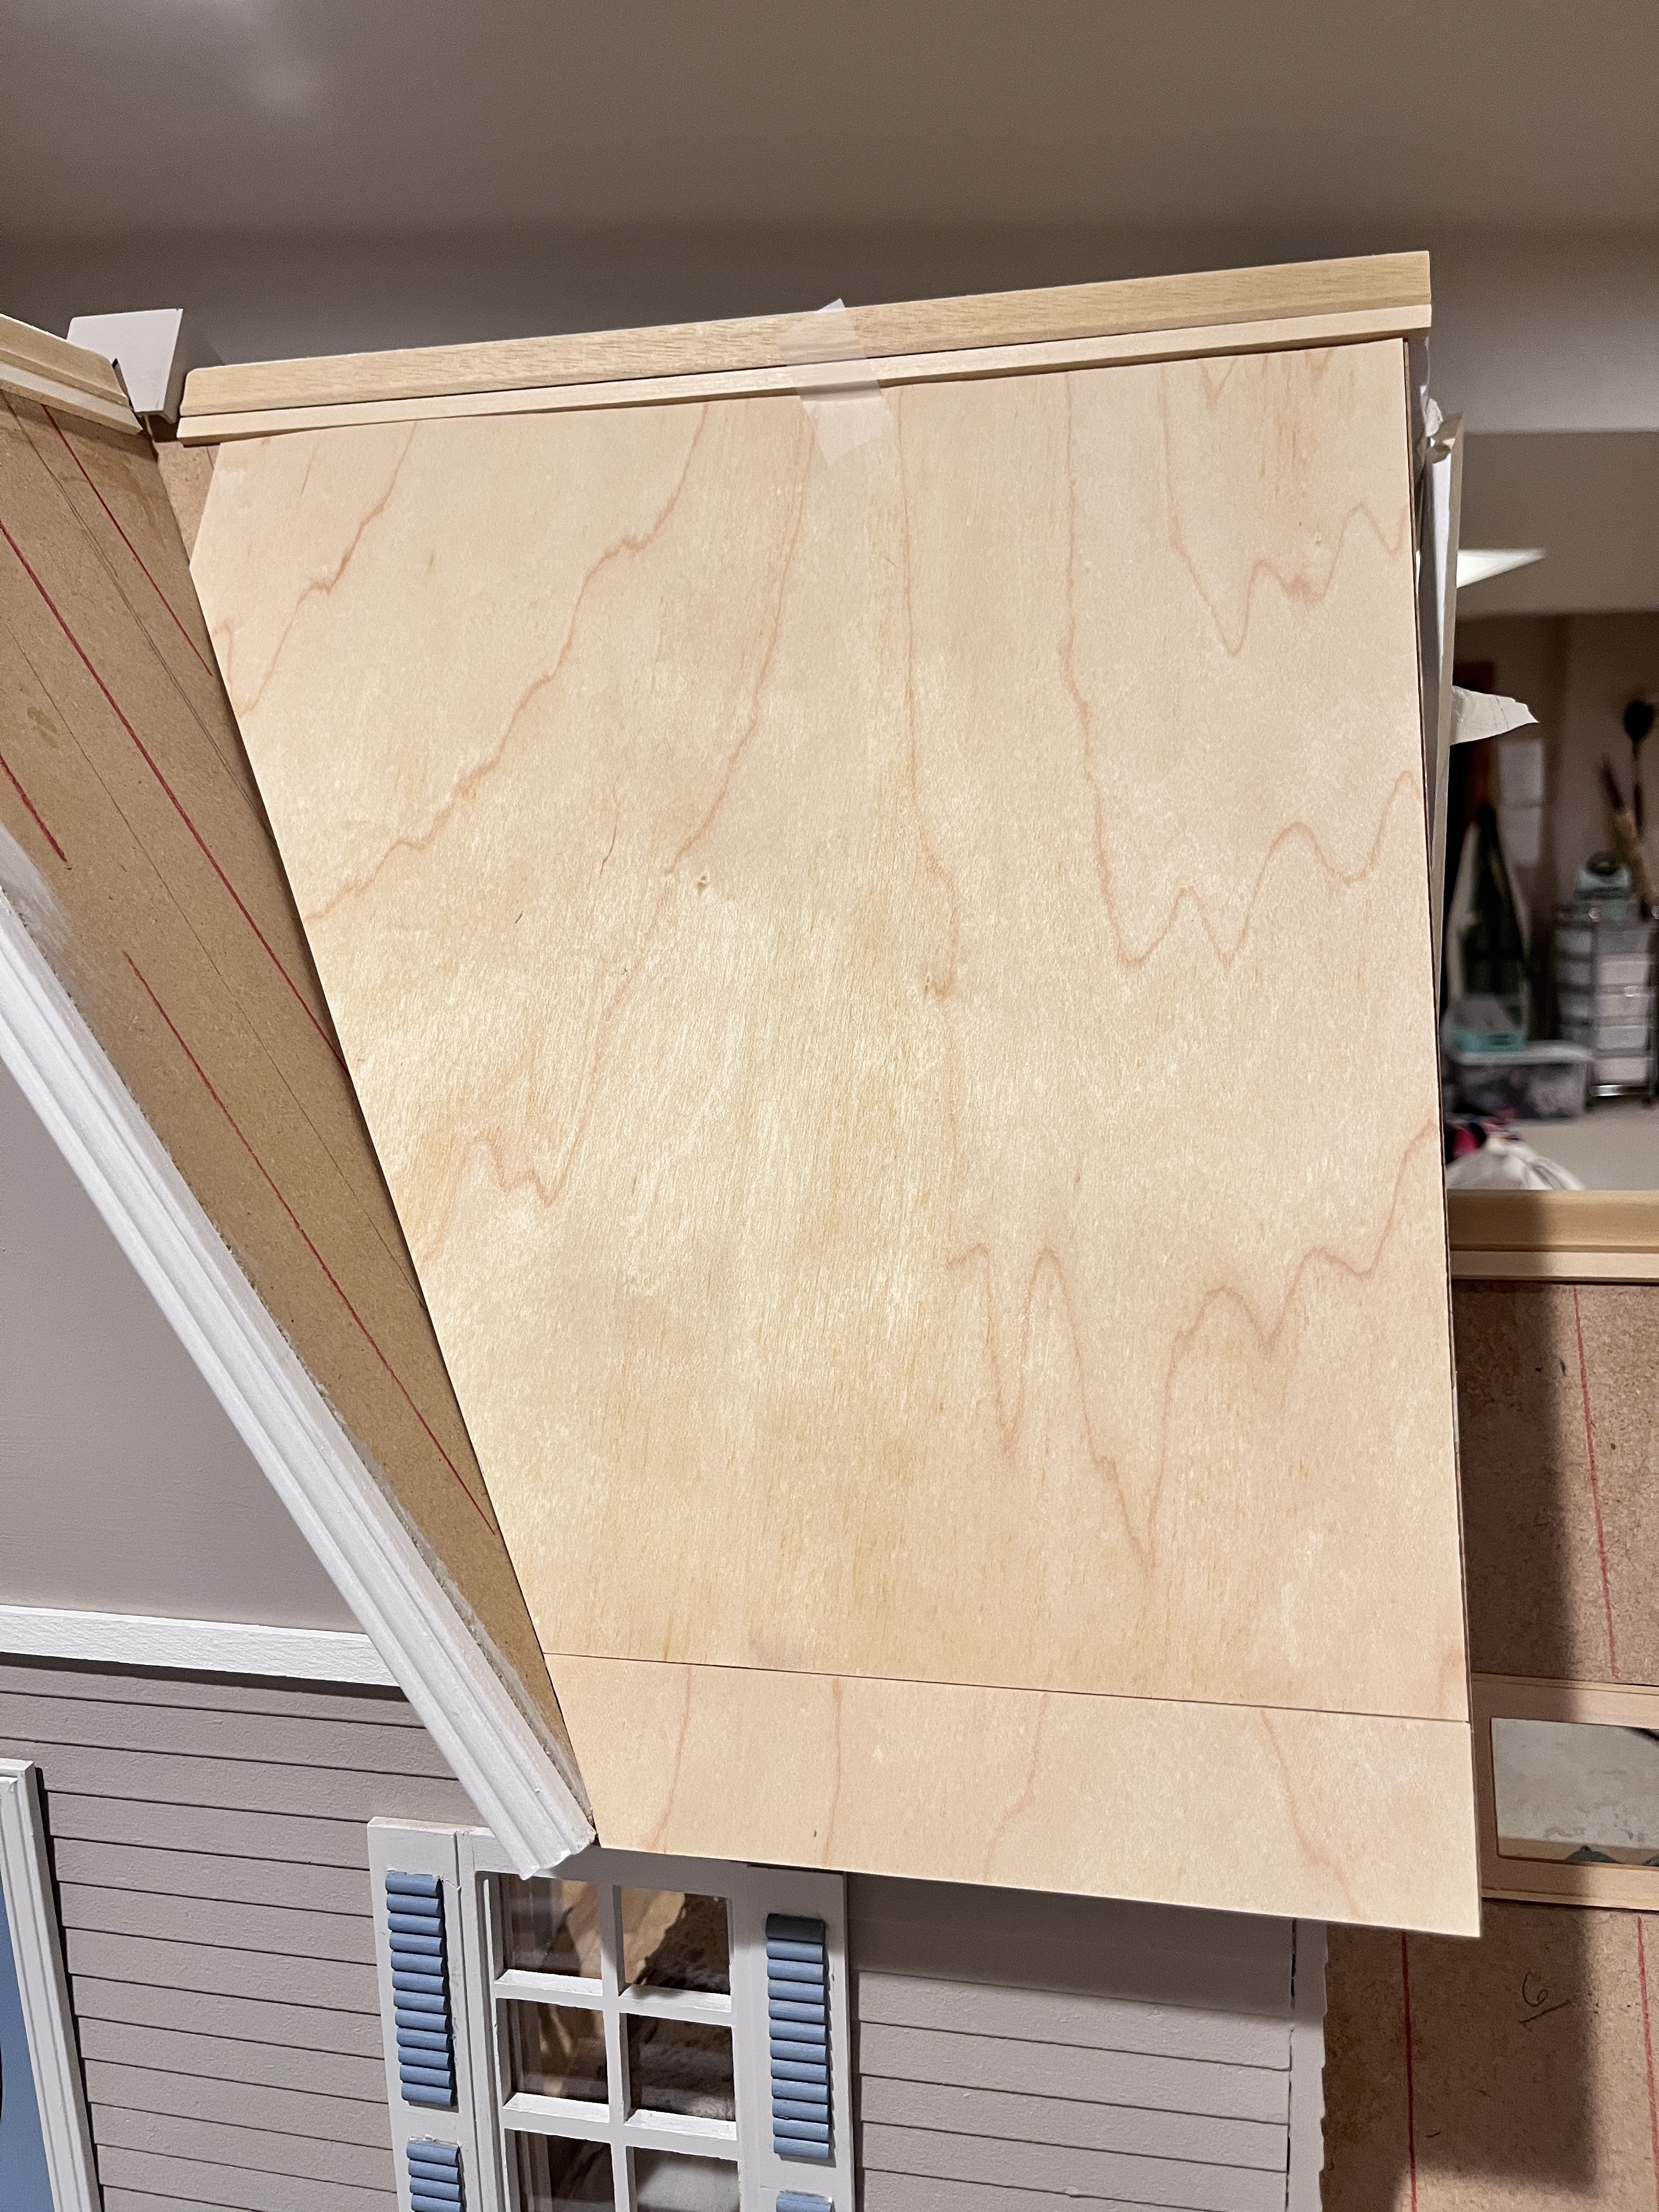
Pink, as you know, is my project manager for my mini projects. We had quite a go-round on the faux metal roof after I had to talk her in it, so I didn't really don't appreciate her "I told you so" attitude when I began to reconsider that style of roof because I just couldn't get the pieces to fit like they needed to.
Of course the discussion on whether or not we should use wood shake shingles or fake metal stuff wasn't particularly an easy one for she tends to be pretty bossy and has gotten worse since she saw the new Barbie movie. I had to remind her--though I hated to--that she was a Macdonald's Happy Meal prize and that she was rescued from a thrift store along with several other girls in the same discounted sack, so she should show a bit of gratitude; I reminded her that even though she has really good ideas and is usually right she, could be a little more respectful. Finally we reached a mutual agreement on wood shingles, knowing they will look much better than an attempted metal roof.
Busy week ahead. I hope to finish up the green house and present the finished project next time, and maybe I'll get the shingling started. The grandkids are all back in school, even the 3 girls who are home schooled. I'll be teaching at least one them a half credit literature seminar, maybe CS Lewis.
And there is always yard work going on and the car goes to the shop and I have a DAR project that I have finish, so I'll try to see you next week. In the meantime stop by my InstaGram, Ann's Dollhouse Dreams. I'd love to see you there.
Have a swell week.




.jpeg)





.jpeg)
.jpeg)

.jpeg)
.jpeg)
.jpeg)
.jpeg)
.jpeg)